
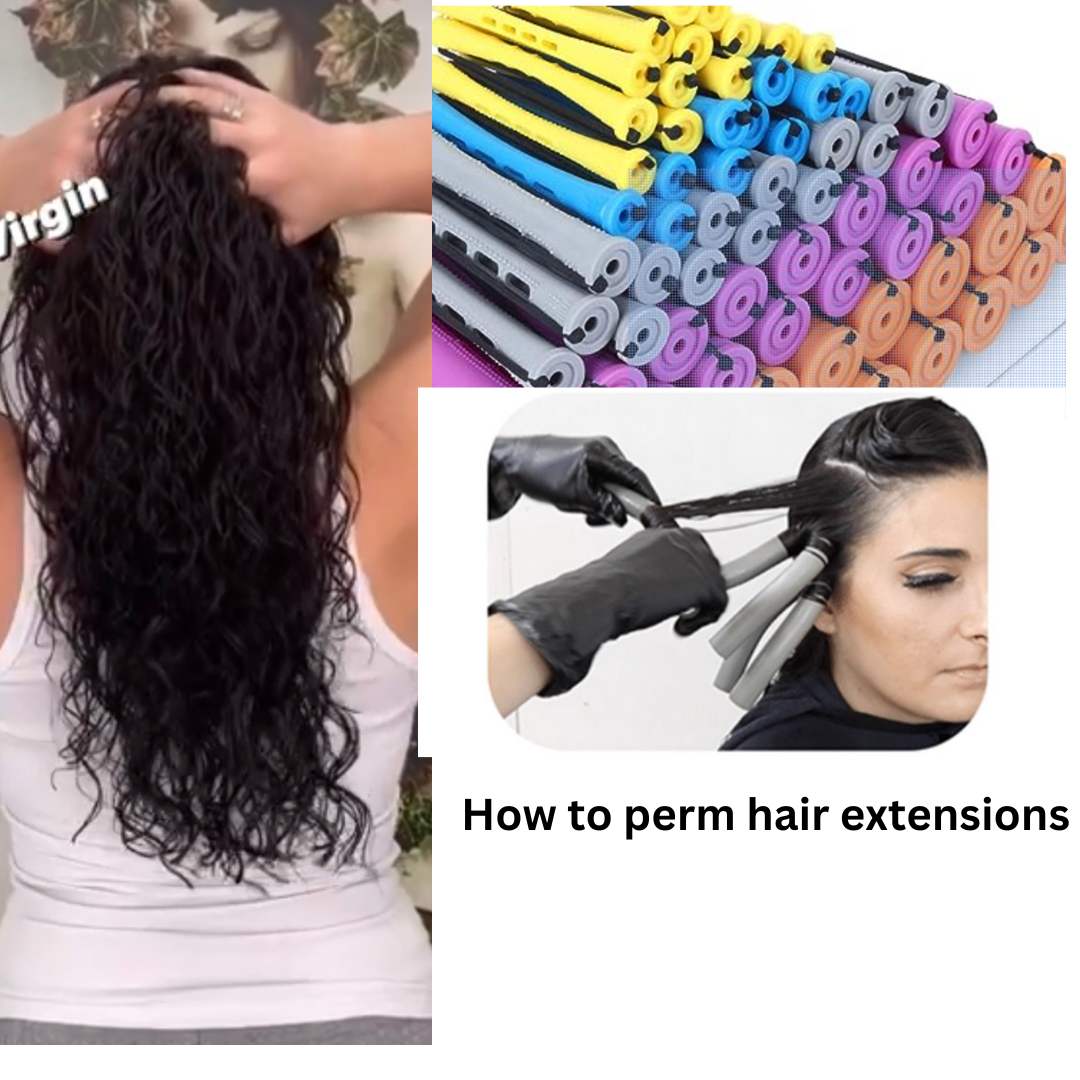
How to Perm Hair Extensions at Home: A Complete Guide
Curly hair, in all its gorgeous patterns, remains a timeless, modern style. If you want to take straight extensions to soft waves or full curls for a more polished look, let’s talk about reshaping the hair structure the way many factories do. Manufacturers often rely on a water perm approach; with care and patience, you can adapt similar principles at home. However, your extensions will need extra TLC, and you should only consider perming hair extensions if they are high quality—ideally virgin, unprocessed human hair. You can perm virgin (one-donor) hair extensions, but results vary by origin, processing history, and texture, so let’s walk through the details clearly and safely.
Start with a strand test before you attempt a full perm on a weave, keratin bond set, pull-thru method hair, tape-in hair extensions, or i-tip hair. Wrap and process a few test strands first, then check the integrity of the hair. If the hair breaks on the perm rod or sheds excessively during rinsing, stop. For overall resilience and shine, apply a nourishing hair mask in advance. Are you ready to transform your look with curls while protecting your investment?
Is it Wise to Perm Hair Extensions?
I recommend perming hair extensions only when you can’t purchase the exact curl pattern you want. This is particularly helpful when your natural curl or wave is unique and hard to match. By the end of this guide, you’ll understand why curl patterns differ so much, and you’ll see how carefully executed DIY hair perm methods can bridge the gap when the perfect texture is unavailable. Have you considered the maintenance required for permed hair extensions, and are you willing to commit to gentle care to keep them looking fresh?
I tend to favor the ISO Option EXO damage-conscious exothermic perm. It contains ammonium thioglycolate, yet spreads evenly to minimize uneven swelling. Selecting the right rod size determines curl diameter and finish. For loose waves, I like Cult Curl spiral perm rods because they’re easy to bend, help wrap without breakage, and avoid elastic marks. Cult Curl’s system includes both perm solution and neutralizer in one and is very gentle on natural hair; however, because it contains a neutralizer, I do not recommend using Cult Curl on extensions unless they are truly virgin hair that is unprocessed. If you’re exploring non-perm alternatives, keratin bond treatments can enhance manageability and reduce heat styling, though they do not replicate a true home hair perm result.
Also Read: Discover the Best Curly Hair Perm Near Me: Top-rated Salons
What Is a Water Perm?
The term “water perm” typically refers to setting hair on rods and using water with a processing solution that activates in open air rather than under heat or with intensive chemical boosters. In professional settings, this technique emphasizes gentle saturation, consistent tension, and extended air neutralization to lock in the curl pattern without aggressive oxidation. For extensions, the idea is similar: saturate evenly, avoid the bonds, process in open air, rinse thoroughly with warm-to-hot water, then allow the curl to set over time without applying a separate neutralizer. This slower, steadier approach helps preserve cuticle integrity and reduces dryness—vital when perming hair extensions outside a salon.
Before You Begin: Quality Matters
High-quality, unprocessed hair is crucial for a successful DIY hair perm on extensions. Virgin hair tends to have a consistent cuticle and fewer hidden treatments, which allows the solution to penetrate and reform bonds more predictably. In contrast, heavily processed extensions (especially blonde) may have been exposed to acid baths, bleach, or silicone coatings that weaken fibers and cause unpredictable results or breakage. A common misconception is that all “human hair” extensions behave the same; in reality, source, prior chemical exposure, and manufacturing methods dramatically affect how the hair responds to a home hair perm. Ask yourself: are your extensions truly virgin and in excellent condition, or have they been through multiple chemical steps that could compromise the outcome?
Step-by-Step Guide to Perm Hair Extensions at Home
To make this process simple to follow, each step includes a clear subheading and compact bullet points. Keep a calm pace, check your progress frequently, and never skip the strand test. What curl pattern are you aiming for—soft beach waves, polished spirals, or tighter definition?
Step 1: Assess Porosity and Plan Your Curl Size
- Extensions are often more porous than natural hair, so they may process faster. This means diligent timing and frequent checks are essential.
- Choose your perm rod size before rolling; the rod diameter determines the finished curl or wave.
- Wrap a few trial strands to preview results. If you see signs of fragility or fuzziness, stop and reassess.
- Protect your extensions between sessions by loosely securing them (e.g., a soft bun) during sleep or workouts to preserve the pattern you’re creating.
- Are you aiming for body and bend or a defined curl? Match rod size and tension to your target pattern.


Step 2: Cleanse Gently and Prep for Wrapping
- After a successful strand test, wash extensions with a sulfate-free shampoo to minimize dryness and preserve the cuticle.
- Towel dry to remove excess water. Place extensions on a large sheet pan or clean surface for control.
- Wrap hair on rods using end papers to protect the tips and achieve smooth, even tension.
- Keep a spray bottle handy to re-moisten sections as you work so hair doesn’t dry mid-wrap.
- Consider a pre-perm treatment mask days before your home hair perm for added suppleness.
Step 3: Saturate with Care—Avoid the Bonds
- Saturate the wrapped rods evenly with the perm solution in open air, ensuring full coverage on each rod.
- Shield attachment areas carefully—especially keratin bonds, tape tabs, and pull-thru points—to prevent weakening or slippage.
- Apply slowly and methodically so product does not pool near bonds or wefts.
Step 4: Time the Process and Test the Curl
- Many extensions process within 5 to 10 minutes; porosity alters timing, so stay close and monitor.
- Open a test rod and check whether the hair springs back with a defined S-shape or spiral.
- If hair looks fuzzy, limp, or overly swollen, rinse immediately to avoid damage.
- Note: Some synthetic blends won’t respond like human hair. If texture feels unusual or resistant, discontinue to prevent uneven results.
Step 5: Rinse Thoroughly with Hot Water
- Once you like the curl pattern, turn up your water temperature to hot (within safe comfort) and rinse thoroughly for about 10 minutes.
- Ensure no perm solution remains on rods or hair. Residue can compromise the end result and cause dryness.
- Aim for consistent water flow over each rod so every section is equally cleansed.
Step 6: Blot Gently—No Rough Handling
- Place the extensions on towels and blot to remove water—avoid twisting or wringing, which can distort the curl.
- Handle carefully to protect the bonds and the newly formed pattern.
- Keep in mind that permed extensions require extra love in daily maintenance for best longevity.
Step 7: Skip the Neutralizer
- DO NOT USE NEUTRALIZER. Products with hydrogen peroxide or sodium bromate can over-dry extensions and risk brittleness.
- This method relies on air setting rather than oxidative neutralization to protect fragile extension fibers.
Step 8: Air Neutralize—Leave Rods In
- Allow the extensions to air neutralize with rods in place for 48 hours to set the pattern securely.
- During this period, avoid tugging, brushing, or product overload. Lightweight keratin-based serums can add shine without heavy buildup—apply away from bonds.
- Patience during this window makes a clear difference in final bounce and longevity.
Step 9: Unwrap and Evaluate
- After 48 hours, gently remove the rods and let the curls fall naturally.
- You should see a bouncy, shiny curl with definition that matches the rod size and your tension during wrapping.
- If you want slightly looser movement, lightly scrunch with a leave-in designed for curls—avoid combs and brushes for the first day.

Step 10: Maintain Moisture and Shape
- Support your newly permed extensions with hydrating products that enhance curl and minimize frizz.
- Keep stylers away from attachment points to avoid slippage or residue build-up.
- Sleep on a silk or satin pillowcase or use a loose pineapple to protect the pattern overnight.
Best Products to Maintain Permed Hair Extensions
-
Oribe Cleansing Cream (use on naturally thick hair) for a plush cleanse that nurtures the feel of human hair without stripping moisture.
-
EVO Hydrating Shampoo and Conditioner for balanced hydration and softness.
-
Davines Curl Enhancing Shampoo and Conditioner to encourage definition and shine.
-
Moroccan Oil Curl Enhancing Shampoo and Curl Defining Cream (avoid the attachment area) for slip, smoothness, and controlled curl.
This open-air method helps keep extensions healthier, and separate neutralizing is not necessary. As emphasized earlier, thorough testing is crucial. I do not recommend perming blonde processed extensions; they often undergo multiple chemical steps, including acid baths, that can leave the hair too fragile to tolerate even a gentle DIY hair perm.

Risk Scenarios: What If Something Goes Wrong?
- Skipping the strand test: Without a test curl, you might discover too late that the hair over-processes, leading to frizz, fuzziness, or snapping during rinsing.
- Overexposure to solution: Leaving solution on too long can cause limp curls that won’t hold or, worse, fragile fibers that tangle and break when dried.
- Neutralizer misuse: Applying a standard neutralizer can strip moisture, harden the shaft, and shorten the lifespan of the extensions.
- Bond contamination: If solution or heavy oils migrate to tapes, keratin bonds, or pull-thru points, slippage or shedding can follow.
- Heat overload: Excessive heat styling right after processing may weaken the new pattern and create uneven, dry ends.
Aftercare Essentials for Long-Lasting Curls
- Hydration first: Use curl-friendly, moisturizing products and avoid sulfates that can lift the cuticle.
- Hands-off styling: Finger-style or use a wide-tooth comb sparingly, starting at the tips and moving upward to prevent tension on bonds.
- Gentle drying: Air dry when possible; if diffusing, keep heat low and avoid direct airflow on attachments.
- Protection: Sleep with a silk or satin accessory and loosely gather hair to preserve shape.
- Light touch-ups: If refreshing is needed, re-wrap a few pieces on larger rods with water and allow to set; avoid re-perming frequently.
Hair Extensions Background Noelle Salon
At Noelle Salon, the team evaluates your natural hair, listens to your styling goals, color matches, and plans a look tailored to your lifestyle. They use human hair extensions such as 100% Remy human hair or virgin hair, selected for appearance and manageability. Whether you want short hair fullness or 24 inches of flowing length, they work with methods like tape-in extensions, clip-ins, and Keratin, and they enjoy the Veila Pull-thru technique with Veila Hair Extensions for ease of care. If you’re craving a quick change for a day—like a clip-in ponytail—a high-quality ponytail extension can instantly elevate your style. With protective styling and regular maintenance, extensions can support your natural hair journey and complement your hair growth routine. Are you weighing a subtle enhancement or a full transformation?
Can I Use a Perm Kit to Curl Hair Extensions?
It’s not recommended to use a regular at-home perm kit on tape-in extensions because chemical exposure can weaken adhesives and harm both extensions and natural hair. If you plan to style with heat tools like a hot iron, consult your stylist for safe temperature ranges and techniques, and always keep tools away from bonds. For a safer home hair perm outcome on extensions, follow the open-air, no-neutralizer process and rely on a meticulous strand test.
Common Questions Before You Start
- Are you ready to manage curls daily with hydrating products and gentle detangling?
- Do your extensions qualify as virgin, unprocessed hair suitable for perming hair extensions?
- Have you chosen a rod size that truly reflects your desired result?
- Will your routine support air neutralizing for 48 hours without disturbance?
- Have you considered the long-term maintenance required for permed hair extensions, including trims and protective sleep habits?
Key Warnings and Safety Reminders
- DO NOT USE NEUTRALIZER. Standard neutralizers can over-dry extensions and accelerate wear.
- Avoid bond exposure. Keep solutions, oils, and heavy conditioners away from tapes, keratin points, and pull-thru areas.
- No blonde processed perms. Do not perm blonde processed extensions due to prior chemical history.
- Always strand test. If the test strand breaks, feels gummy, or sheds heavily, do not proceed.
- Process in open air. Follow the rinse and air neutralize timeline to safeguard fiber integrity.
Summary and Next Steps
Perming hair extensions at home can be a smart choice when you can’t source the exact curl pattern you need, provided you work with high-quality, unprocessed hair and a methodical approach. The open-air process—careful wrapping, precise saturation, frequent test checks, an extended hot-water rinse, and a strict no-neutralizer rule—helps protect fragile fibers while creating lasting body, wave, or curl. Afterward, commit to hydrating care, gentle styling, and diligent bond protection to maintain your new texture. What curl pattern are you hoping to achieve with your extensions, and how will you care for them day to day to keep the shape you love?
We’d love to hear how your DIY hair perm journey unfolds—share your experiences, favorite products, and maintenance tips for perming hair extensions so others can learn from your results.


