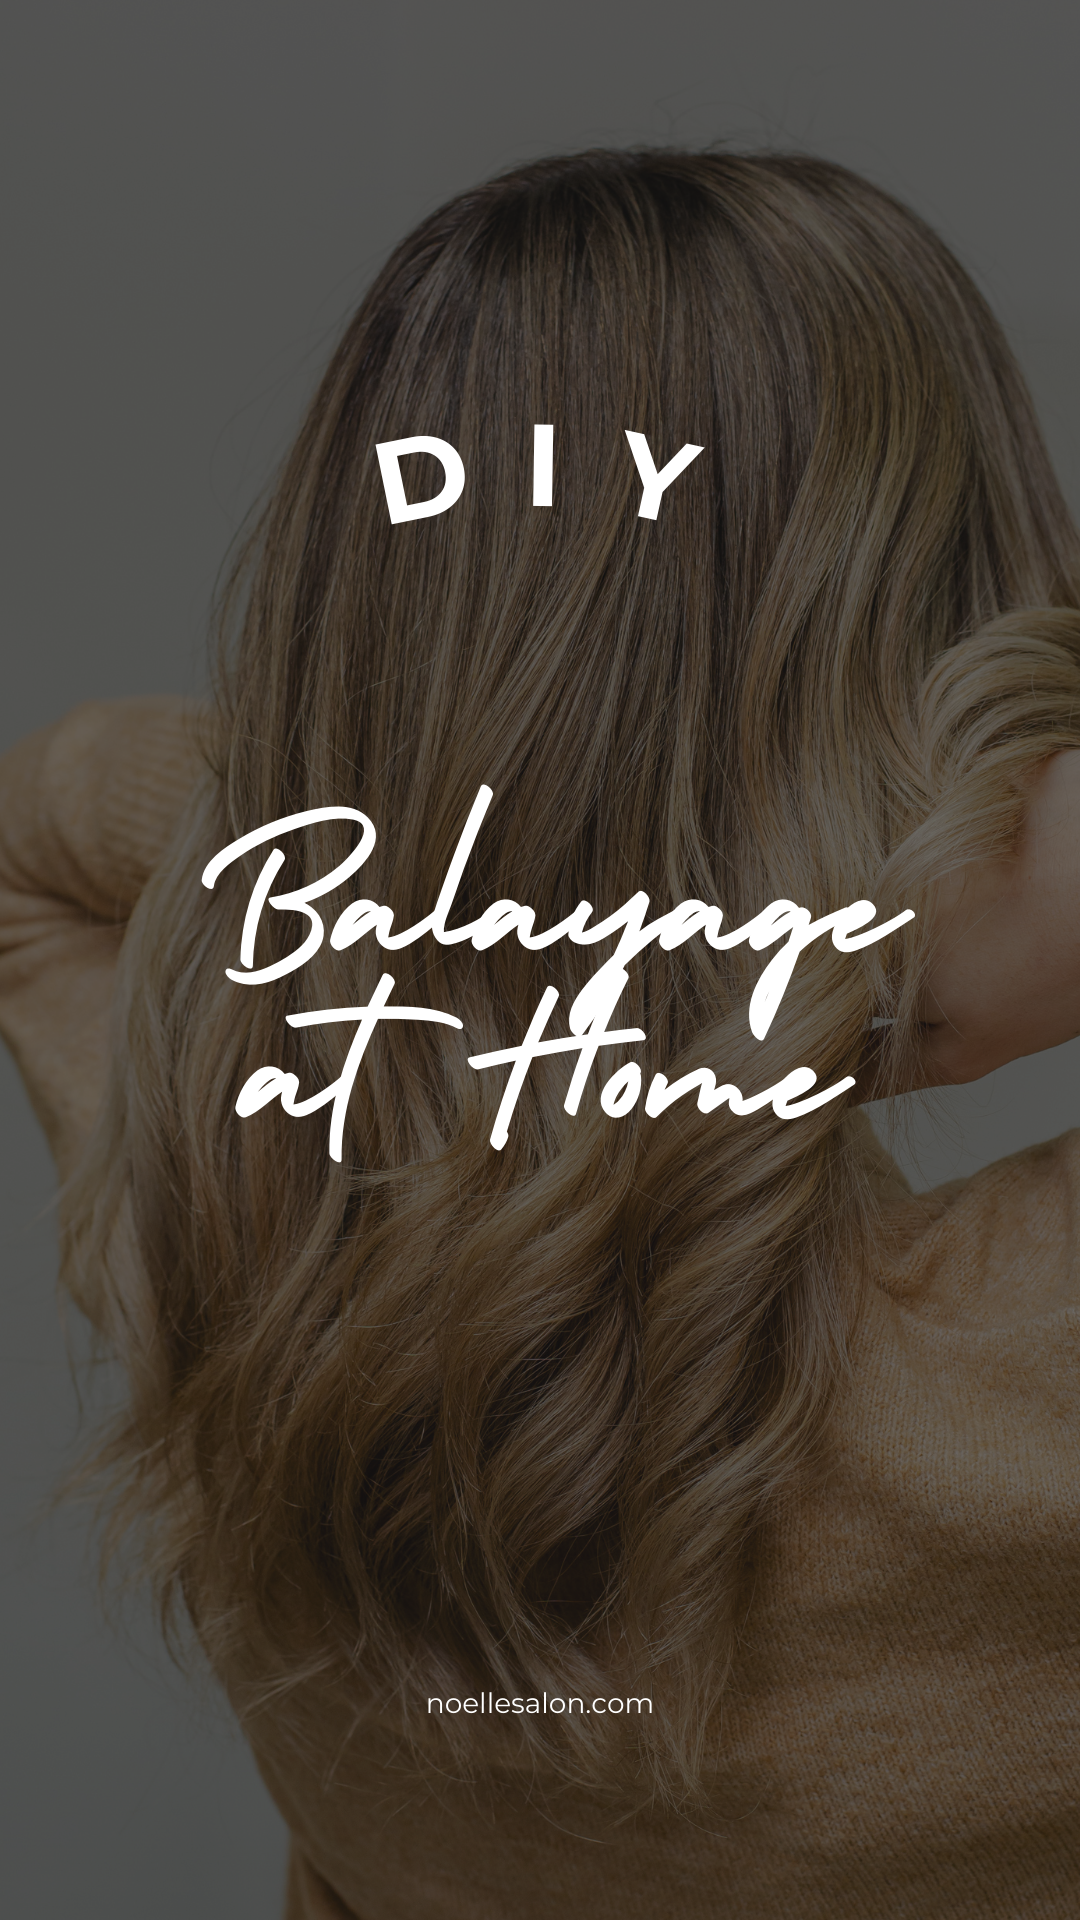
Beginner’s Guide: DIY Balayage Techniques
What is Balayage?
Balayage, derived from the French word "to sweep" or "to paint," is a freehand hair coloring technique that works particularly well for brunettes. Unlike traditional foil highlights, balayage creates a blend between darker roots and lighter ends, mimicking the effect of natural sunlight on your hair. It's perfect for anyone seeking a low-maintenance, lived-in look that grows out beautifully. Balayage works well on all hair types and textures, making it a versatile choice for anyone looking to enhance their hairstyle.
Tools and Supplies Checklist

How to Prep Your Hair?

Preparation is key to achieving professional-looking results. This includes sectioning your hair correctly and ensuring it's in good condition before bleaching.
Assess Your Hair’s Health
Before starting, evaluate the condition of your hair. Balayage involves bleaching, which can be damaging to already compromised hair. If your hair feels dry or brittle, consider doing a deep conditioning treatment with coconut oil or using a strengthening product to fortify your strands beforehand.
Section Your Hair
Proper sectioning ensures even application and prevents patchiness. Follow these tips for flawless sectioning: Start with Clean, Dry Hair: Wash your hair a day before to remove buildup, but avoid conditioner as it can make hair slippery. When using the balayage technique for curly hair, it's important to carefully section your curls to maintain their natural pattern and ensure highlights are distributed evenly. Work in small, manageable sections that follow your curl's natural formation, and use your fingers or a wide-tooth comb to separate hair gently. This approach helps achieve a more natural, sun-kissed look at home without disrupting your curls' texture.
-
Start with Clean, Dry Hair: Wash your hair a day before to remove buildup, but avoid conditioner as it can make hair slippery.
-
Use a Tail Comb: Create clean, even sections starting from the back of your head and working upwards.
-
Divide Into Four Quadrants: Split your hair down the middle from front to back and then from ear to ear. Secure each section with clips.
-
Thin Sections for Precision: Smaller sections ensure thorough application and better blending.
-
Start with Clean, Dry Hair: Wash your hair a day before to remove buildup, but avoid conditioner as it can make hair slippery.
-
Use a Tail Comb: Create clean, even sections starting from the back of your head and working upwards.
-
Divide Into Four Quadrants: Split your hair down the middle from front to back and then from ear to ear. Secure each section with clips.
-
Thin Sections for Precision: Smaller sections ensure thorough application and better blending.
Wear an old shirt or drape a towel over your shoulders to protect your clothes. Apply petroleum jelly along your hairline and ears to prevent staining.
Professional Insights on DIY Balayage
When considering a DIY balayage, insights from professional stylists can provide invaluable guidance. Many salon experts emphasize the importance of preparation and technique. Stylists recommend that beginners familiarize themselves with the balayage application process, ensuring they achieve results close to their natural color before diving in. Practicing on hair extensions or mannequin heads can help build confidence and skill. Additionally, using high-quality products, such as professional-grade lighteners and the Pro Toning Mask toners, can significantly impact the final result, allowing for a more vibrant and long-lasting color.
In the salon, professionals often take time to assess the client's hair type, whether it is curly hair, straight hair, or wavy, and natural color to choose the right shade and technique. This personalized approach ensures that the balayage enhances the client's features and suits their lifestyle. For those attempting balayage at home, understanding these professional insights can bridge the gap between salon-level results and DIY efforts.
DIY Balayage in 5 Easy Steps

With your tools ready and hair prepped, it's time to start painting those highlights! Balayage is an art, so experiment and adapt the technique to suit your style.
Step 1: Mix Your Lightener
In your color bowl, combine the bleach and developer according to the instructions on the packaging. Mix until the consistency is smooth and free of lumps—it should be a thick cream, thick enough to stay in place but easy to spread, ensuring you add the entire tube of the lightening cream so that you know how much lightener to use.
Step 2: Apply the Bleach
-
Focus on Mid-Lengths and Ends: Using your application brush, apply the bleach about halfway down each section while being mindful of the root line. Avoid saturating the roots for a natural gradient effect. Start with a small amount of bleach to ensure better control.
-
Use a Sweeping Motion: Balayage is all about freehand painting. Sweep the bleach onto the hair in a V-shape, concentrating more product on the ends.
-
Blend Well: Use the brush or your fingers (with gloves on) to blend the bleach upward for a seamless transition.
-
Alternate Sections: Vary the placement and thickness of the highlights for a more natural, multidimensional look.
Step 3: Saturate the Ends
The ends of your hair should be the lightest for that signature balayage gradient. Apply extra bleach in ½ oz to the tips, ensuring complete coverage up to a few inches. Use plastic wrap or foil to separate the sections and prevent smudging, avoiding any zebra stripes if needed.
Step 4: Process the Color
Allow the bleach to process for 20 to 45 minutes, depending on your desired balayage results level of lightness and the developer's strength. We recommend setting a timer to check your hair every 10 minutes to monitor the progress. Avoid over-processing to prevent damage.
Step 5: Rinse and Tone
-
Rinse Thoroughly: Once the processing time is up, rinse your hair and scalp with lukewarm water until all the bleach is removed.
-
Apply Toner: Mix your toner with the developer as instructed. Apply it evenly to your hair and scalp, and let it sit for 10–15 minutes to neutralize brassiness.
-
Rinse Again: Wash the toner and follow with a nourishing conditioner or hair mask.
Step-by-Step Balayage Techniques for Curly Hair
When it comes to balayage for curly hair, the technique requires a bit of finesse to achieve the best results. Curly hair has a unique texture and pattern that can benefit from a tailored approach. Start by straightening your curls with a flat iron before applying color. This allows for easier sectioning and ensures the dye is evenly distributed throughout your strands. Once your hair is straight, divide it into manageable sections, using clips to hold them in place. Here are different ways to approach the balayage technique for curly hair.
For the balayage application, focus on mid-lengths and ends, using a gentle sweeping motion to apply the bleach. This technique will enhance your curls' natural shape while creating a soft, sun-kissed effect. Remember to avoid saturating the roots, as this maintains the gradient effect that balayage is known for. By working with smaller sections of hair, you can achieve a more natural look that highlights your curls without disrupting their texture.
Traditional vs. Chunky Balayage Methods
When considering balayage techniques for curly hair, it's essential to understand the differences between traditional and chunky methods. Traditional balayage involves painting highlights onto smaller sections of hair, creating a more blended and natural look. This method is particularly effective for those with tighter curls, as it enhances the natural wave pattern while providing dimension.
On the other hand, chunky balayage uses larger sections of hair, resulting in broader highlights that add volume and density to looser curls. This approach can create a stunning contrast, making it ideal for those who want a bold, statement look. However, it's crucial to ensure even color distribution to avoid a striped appearance. Ultimately, the choice between traditional and chunky balayage methods depends on your personal style and the effect you wish to achieve. Experimenting with both techniques can lead to unique results that showcase your beautiful curls.
Post-Balayage Care Tips
Proper aftercare is essential for maintaining the vibrancy and health of your balayage. Here's how to keep your highlights looking fresh:
Use Color-Safe Products
Switch to shampoos and conditioners specifically formulated for color-treated hair. Sulfate-free options are best as they're gentler on your hair and help preserve your color.
Limit Washing
Frequent washing can strip away the toner and cause your color to fade. Aim to wash your hair 2–3 times a week and use dry shampoo in between to keep your hair fresh.
Deep Condition Weekly
Bleached hair is prone to dryness, so treat your locks to a weekly deep conditioning mask that provides essential moisture. Look for products that contain nourishing ingredients like argan oil, keratin, or shea butter.
Protect Against Heat
Excessive heat styling can weaken your hair and fade your balayage. Always use a heat protectant before blow-drying, curling, or straightening. Opt for lower heat settings to minimize damage.
Schedule Touch-Ups
DIY balayage grows out beautifully, but you may need touch-ups every 3–4 months to maintain the look. Focus on refreshing the highlights and toning as needed.
Incorporate Glossing and Weekly Hair Masks for Color Maintenance
To keep your balayage looking fresh and vibrant, incorporating glossing treatments into your routine is essential. Glossing helps to enhance shine and maintain the depth of your color, while also neutralizing any unwanted brassiness that may develop over time. Additionally, using purple shampoo can aid in this process by helping to tone down yellow and orange undertones. Aim to use a glossing treatment once a month, or as needed, to keep your colors looking rich and lively.
In addition to glossing, weekly hair masks can work wonders for maintaining the health of your balayage. Opt for a mask specifically designed for color-treated hair, as these products often contain nourishing ingredients that hydrate and restore shine. By pampering your hair with a deep-conditioning treatment, you can combat dryness and damage caused by the bleaching process, ensuring that your balayage remains beautiful and healthy for longer.
Navigating Hair Care After DIY Balayage
After achieving your stunning DIY balayage, maintaining your hair's health and vibrancy is essential. Experts recommend adopting a hair care routine tailored specifically for color-treated hair, which includes the use of a toning gloss. This involves using sulfate-free shampoos and conditioners designed to preserve the integrity of your balayage while preventing color fading. Regular use of a deep conditioning treatment can also help keep your hair hydrated and manageable, mitigating the drying effects of bleach.
Moreover, limiting heat styling and utilizing heat protectants can further protect your color. It's advisable to schedule touch-ups every few months to refresh your highlights and ensure your look remains fresh. By following these professional hair care guidelines, you can enjoy your beautiful balayage for longer while keeping your hair healthy and vibrant.
Choose Noelle Salon for Expert Guidance
Noelle Salon is your ultimate destination if you're seeking professional advice or premium products from a hairdresser to elevate your DIY balayage. Renowned for its hair coloring and care expertise, Noelle Salon offers a curated selection of high-quality products and personalized consultations to help you achieve salon-worthy results at home. Noelle Salon supports your hair transformation journey whether you're new to DIY or a seasoned pro. Contact NOW to get your perfect hair look!
Conclusion
DIY balayage is a fantastic way to explore your creativity and transform your own dark hair while avoiding the high costs of salon visits. With the right tools, including a balayage kit, developer cream, and an expert touch applicator, techniques, and aftercare, you can achieve stunning, natural-looking results that rival professional colorists and stylists. Remember, the secret to a flawless balayage and its end result is patience, practice, and sometimes back combing. Even if you want to color your own hair and your first attempt isn't perfect, you'll improve with each try. Best of all, mastering this skill will boost your confidence and give you a sense of accomplishment. So, why wait? Start your DIY balayage journey today and unveil a radiant new look!
Frequently Asked Questions
Can You Do Balayage on Yourself?
Yes! Anyone can achieve beautiful balayage at home with the right tools, preparation, and patience, much like how a successful blog can guide you in your journey. Start with a simple, subtle look and build confidence as you become more familiar with the technique.
What Are Some Less Expensive Alternatives to Balayage?
If balayage feels daunting, try more straightforward techniques like ombré or dip-dyeing, which also create a gradient effect but require less precision.
What are the steps to achieve a DIY balayage hair color?
To achieve a DIY balayage hair color, start by sectioning a section of your hair, mixing your desired color, and applying it to the mid-lengths and ring fingers, blending upwards, wrapping the sections in foil, and leaving it to process. Consider using a caramel shade for added warmth. Finally, rinse and style for beautiful balayage and champagne highlights at home.
Do You Need Foil for Balayage?
Traditional balayage is done freehand without foil. However, foil or plastic wrap can be used for added control, especially when working with multiple sections.