
Master the Art of DIY Weft Hair Extensions: A Comprehensive Step-by-Step Guide
·
Understanding Weft Hair Extensions: Types and Benefits
Hair extensions in Boston, including weft hair extensions, are created by sewing or weaving hair onto a track which is a narrow strip of fabric. These extensions are then applied to your natural hair with different attachment methods to boost length, add volume, and refine your style.
Exploring the Value of DIY Wefts: Why Choose a Sew-In Method?
Genius wefts are ultra-thin like hand-tied wefts, yet unlike traditional hand-tied tracks, they can be cut anywhere along the seam without unraveling. Because of that flexibility and customization, they’re often marketed as premium—and are commonly priced higher than both machine-sewn and hand-tied options.
I personally invested heavily in Genius Wefts, expecting enhanced durability, a longer lifespan for clients, and faster, cleaner installs since the wefts could be cut to size. After using them and then reviewing our backstock, I realized we had an abundance of gorgeous hand-tied hair on hand. A close look at Genius construction sparked an idea: with a simple technique, I could convert leftover hand-tied pieces into a custom “Genius-style” weft that behaves similarly—thin, pliable, and cuttable—while using hair we already had.
That same technique works beautifully for clients with older hand-tied hair that still has life left in the strands. Instead of letting that investment sit in a drawer, you can refresh it and create a customized, stackable, and durable weft that mimics the benefits you love in a Genius Weft.
Crucial Terms to Understand for Weft Hair Extensions
Clear terminology makes the entire DIY process easier and more predictable. Here are the essential terms you’ll see throughout this guide:
-
Weft
A continuous strip (track) where hair is stitched or woven onto fabric. The track is what you sew, bead, or otherwise attach to natural hair. -
Hand-tied weft
Hair is tied by hand onto a very thin track. It lies flat and looks lightweight and natural but traditionally cannot be cut anywhere along the seam without unraveling. -
Machine-sewn weft
Hair is stitched by machine onto the track. The seam is sturdier and typically thicker than a hand-tied track, and these wefts are known for durability at the seam. -
Genius Weft
A thin, flexible hybrid-style track prized for being cuttable along its length without fraying. It offers the flat profile of hand-tied with the customization benefit of easy cutting.
Why Make Your Own Genius-Style Wefts for Sew-In Hair Extensions?
Creating your own version from hand-tied hair allows you to use what you already own while reaping the practical perks of a customizable, cuttable track. The result is a slim, low-profile finish that’s simple to tailor to a client’s head shape or to your own hair, without committing to the higher cost of premade Genius Wefts.
If you’re a stylist or a DIY hair extensions enthusiast who appreciates a low-bulk, natural-looking sew-in, this approach can help you:
- Repurpose high-quality hand-tied hair you already have.
- Customize exact widths for precise placement without unraveling.
- Stack tracks for density and a fuller blend where needed.
- Reduce overall cost while keeping a sleek, hand-tied-like profile.
Have you ever considered making your own hair extensions to save money and personalize your look?
DIY Genius Weft Method: Step-by-Step Guide
Below is the simplified, reliable process I use to turn hand-tied hair into a thin, cuttable, and durable “Genius-style” track. Follow these steps carefully for the best results.
Step-by-Step Process to Create Cuttable Genius Wefts
- Place two hand-tied wefts on a clean, protected surface with the top (track) facing up. Paper towels work well underneath to catch any adhesive residue.
- Position a weight just below the track to keep the wefts straight and steady; a heavy metal ruler is ideal.
- Using a suitable hair glue (for example, Bond-A-Weave), apply a very thin, even line of adhesive between the two wefts and along the top of the track. Work carefully to avoid seepage onto the hair lengths.
- Allow the bonded track to dry completely for 4 hours without moving the wefts. Full curing ensures strength and cutability.
Once dry, you’ve created your own durable, “Genius-like” weft that can be cut as needed and is already stacked for installation. For strong, healthy hair, you may stack three to four wefts by repeating the same technique, adjusting density to the wearer’s hair goals and tolerance.
Alternatives and Professional Weft Options Worth Knowing
Veila Hair Extensions recently introduced the “Flex Weft,” which is machine-sewn, free of glue, high in density, and made with virgin hair. The track is pliable, molds easily to different head shapes, can be cut in multiple areas, and—when properly maintained at home—can last up to one year. This is a compelling option if you prefer a ready-made, long-wear solution with a flexible seam.
Don’t discard your older hand-tied pieces either. You can convert them into custom clip-in extensions by attaching small bendable clips (comb-style fasteners) directly to the track. This is a fantastic way to get more life from premium hair while creating on-demand volume and length for special events or daily styling.
For thicker hair types seeking density, consider volume wefts, which bundle three high-density rows into a single weft. These can streamline installs and deliver dramatic fullness with fewer passes.
Essential Materials for DIY Weft Hair Extensions
Gather your supplies before you start so the process stays smooth and controlled from prep through cure time:
Recommended Tools for Seamless Application
- Two or more hand-tied wefts in the desired color and length.
- A non-porous, protected surface with paper towels underneath.
- Weight for stabilization (e.g., a heavy metal ruler).
- Appropriate bonding adhesive for hair wefts and a steady applicator tip.
- Clips or pins to hold hair lengths out of the adhesive line.
- Measuring tape for consistent section widths.
- Sharp shears for trimming the finished track to size after curing.
- Optional: gentle solvent and cotton swabs for quick cleanup of stray glue.
Pro Tips for Success and Weft Longevity
- Apply a very thin bead of glue—less is more. Excess adhesive can seep and create stiffness.
- Keep all hair lengths combed away from the seam while bonding to avoid “sticky” ends.
- Respect the full 4-hour dry time; moving the track early can weaken the bond.
- When stacking, align the tracks perfectly to maintain a flat, comfortable profile.
- After cutting to width, lightly press the edge with your fingers to ensure the seam remains tidy.
- Install with appropriate tension to prevent stress on natural hair and to maintain comfort.
What tips do you have for maintaining hair extensions for longer-lasting results?
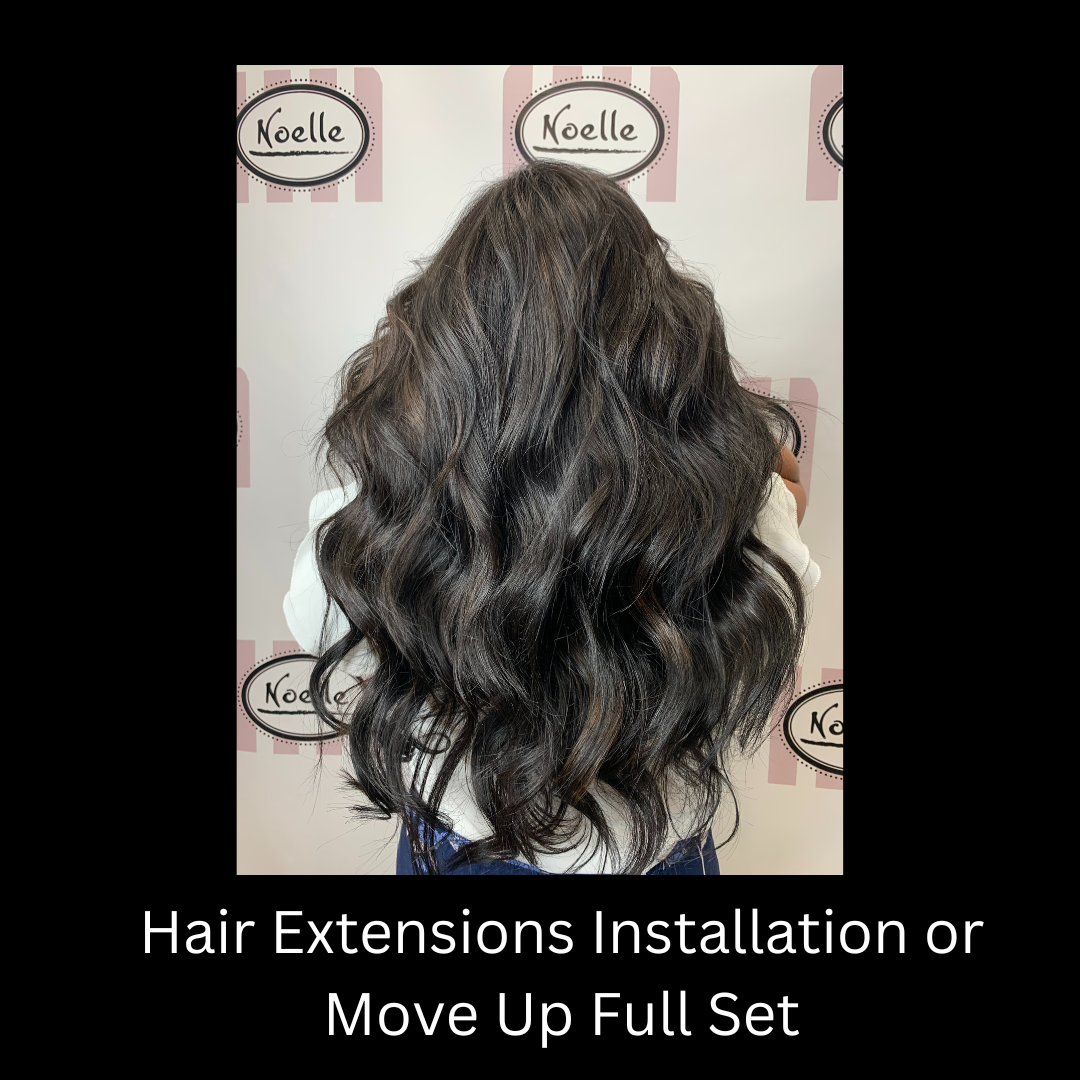
Hair Extensions Background, Application Methods, and Styling Possibilities
At Noelle Salon, the team evaluates natural hair and considers each client’s preferences for styling, color matching, and desired look. They use human hair options such as 100% Remy and Virgin Hair. Extensions can support short to long transformations, and a variety of application methods are used, including tape-in extensions, clip-in hair, and Keratin-based solutions. They also enjoy the Veila Pull-thru method with Veila Hair Extensions for easy hair care and styling maintenance.
Styling versatility is broad—think flat iron sleekness, enhancing a natural curl pattern, or wearing defined curls. If you want a fast change for a single day, a clip-in ponytail can refresh your style instantly. With protective styling and routine at-home care, hair growth journeys can be supported while wearing extensions. If you are curious about a new look, start a conversation with a pro and explore what’s possible in a single session.
What Exactly Is a Weft? Definition, Types, and Customization
A hair weft is a carefully constructed grouping of strands sewn or woven onto a thin fabric track. This structure enables seamless integration with your own hair, delivering fullness and length without committing to permanent extensions. Wefts are commonly offered in machine-sewn and hand-tied formats. Machine-sewn wefts feature a thicker, reinforced seam and are known for robustness along the track. Hand-tied wefts sit very flat and feel lightweight, which helps them blend into the hair with a natural, low-profile finish.
One of the big advantages of wefts is customizability. You can choose color, length, texture, and density to suit your exact goals. Some prefer to purchase ready-made wefts, while others like DIY for a more cost-conscious route and precise control. When you tailor your own setup, you get a blend that matches your shade and thickness, making the finished style look seamless from root to tip.
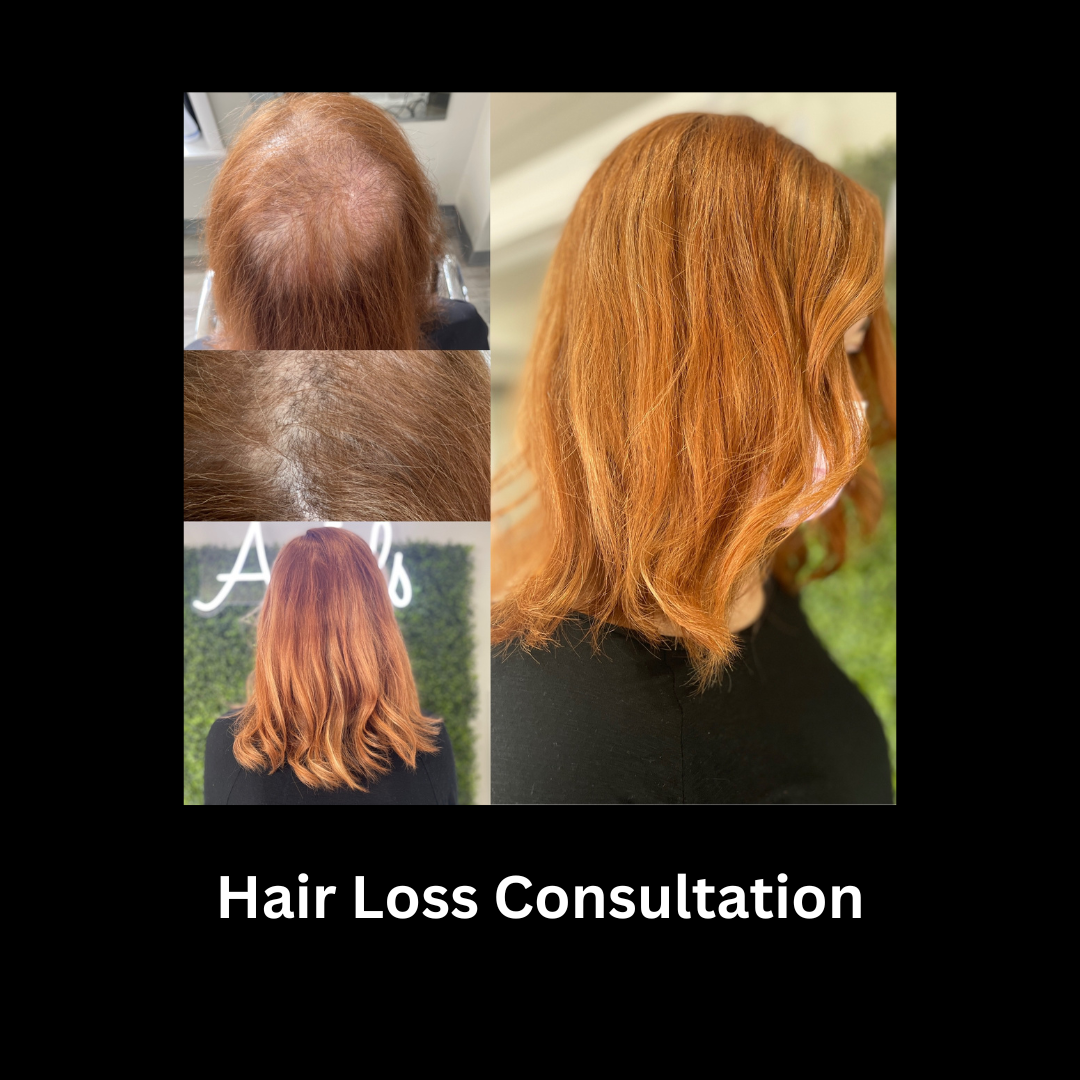
Best Weft Hair Extensions for Thinning or Fine Hair
If you have thinning or fine hair, hand-tied wefts are a smart pick. Because they’re lighter than machine-sewn tracks, they apply less weight and stress to delicate strands. They can also be sewn using techniques that minimize tension, encouraging a comfortable, gentle wear experience. Tape-in options can be another good approach; since they do not require braiding, they can reduce traction on fragile hair when applied correctly by an experienced stylist.
Focus on proportional length and density when selecting your setup. Shorter, strategically layered tracks often look more natural and help achieve believable fullness. You want a balance that boosts volume without overwhelming finer hair. If needed, mix a few lighter-density pieces around the face with slightly fuller tracks in the back for a soft, cohesive finish.
Best Weft Options for Medium to Thick Hair
For medium to thick hair types, machine-sewn wefts are often a strong fit. The denser seam supports more hair per track, which helps the extensions blend with naturally fuller textures. You can absolutely combine techniques—some clients like a flatter, hand-tied feel at the perimeter and a heartier machine-sewn track where more density is desired.
Attachment methods also matter. Beaded installs with silicone-lined beads, for example, can anchor machine-sewn tracks securely without damaging natural hair when fitted and maintained properly. Work with your stylist to determine how many rows and what density will create an even, voluminous result that’s also comfortable day-to-day.

Can You Make Clip-In Hair Extensions Yourself?
Absolutely. Crafting clip-in extensions at home is a budget-friendly way to get the exact shade, length, and density you want. With quality hair wefts, a handful of small clips, and basic tools, you can cut wefts to size, seal the edges to limit shedding, and sew on clips to create personalized pieces that you can pop in and out as needed.
DIY clip-ins are also a great testing ground for color blends or highlights. You can combine tones and lengths for a multi-dimensional look without permanently altering your hair. Since clip-ins are removable, they’re perfect for special occasions, photo shoots, or routine wear when you want a quick boost.
How to Make Clip-In Hair Extensions at Home
Start with high-quality Remy human hair in your chosen length and color. Measure and cut wefts to the widths you need for different parts of your head—a few narrow pieces for the sides and wider sections for the back. Lightly seal any freshly cut edges with a small amount of glue to reduce shedding. Once dry, sew small clips along the rubberized side of the track. For best hold, place a clip at each end and one in the center on wider pieces, spacing them so the weight distributes evenly. This basic process gives you a custom set that blends smoothly and feels secure while worn.
Hair quality is key. Remy human hair mimics natural movement and shine, blends easily, and can be styled with heat tools like your own hair. This makes the finished look more believable and lets you curl, straighten, or wave your pieces as desired.

Essential Supplies to Make Homemade Clip-In Hair Extensions
To successfully make your own clip-in extensions, have the following on hand before you begin so every step flows smoothly:
- Remy human hair wefts: Choose the right length, color, and texture for your blend.
- Replacement clips: Small, sturdy, and easy to sew; look for comb-style clips with a rubberized grip.
- Sharp scissors: For clean, precise cuts when sizing your wefts.
- Needle and thread: Strong thread that matches the weft color helps clips disappear into the seam.
- Glue: Use a small amount to seal cut edges and reduce shedding.
With these materials, you can measure, cut, seal, and sew to produce a tailored set of clip-ins that enhances your style, complements your color, and wears comfortably.
Step One: Preparation and Setup for DIY Weft Hair Extensions
Preparation sets you up for a neat, professional-looking result. Cover your workspace with large paper sheets to catch stray hairs and protect against adhesive drips. Lay out your wefts, clips, scissors, needle and thread, and glue in an organized manner so you don’t have to hunt for tools mid-process. Ensure the area is well-lit to help you track seam placement and clip alignment accurately. Taking a few extra minutes at the start typically saves time and prevents mistakes later.
Step Two: Sewing Hair to Tulle for a Custom Weft Base
Some DIYers reinforce or create a custom base by sewing hair to tulle. If you’re using this technique, set your sewing machine to a straight stitch with a small stitch length for control. Place the tulle under the presser foot and evenly distribute a narrow strand of hair, keeping fibers smooth to prevent clumping. As you stitch, gradually feed additional strands so the hair density remains consistent from end to end. After stitching, inspect the track to secure any loose areas with additional passes. The goal is a clean, even foundation that supports the weight of the hair and lies flat during wear.
Checklist: Materials and Steps for DIY Genius-Style Weft Hair Extensions
Use this quick-reference checklist to stay on track while making your own wefts:
- Hand-tied wefts in the correct color and length.
- Protected workspace with paper towels and good lighting.
- Weight (e.g., metal ruler) to stabilize the track.
- Hair-safe adhesive with a precise applicator tip.
- Clips or pins to hold hair lengths away from the seam.
- Measuring tape and sharp shears.
- Optional: tulle and sewing machine if reinforcing or building a custom base.
Process overview:
- Lay two hand-tied wefts track-up on paper towels.
- Place a stabilizing weight just below the seam.
- Apply a very thin line of adhesive between tracks and along the top edge.
- Let cure fully for 4 hours without moving.
- Stack additional wefts as needed for density, using the same steps.
- Trim to width only after curing, then install.
Troubleshooting Common DIY Weft Hair Extension Issues
- Seam feels stiff: You may have used too much adhesive. Apply a lighter bead next time and comb hair away from the seam while bonding.
- Track lifts at the edge: Ensure full 4-hour dry time. If needed, add a tiny amount of glue to the lifted area and let it cure thoroughly.
- Weft looks bulky: Check alignment when stacking and consider using fewer layers in finer areas.
- Uneven shedding: Lightly reseal fresh-cut edges and avoid cutting into the stitched area of the track.
Care and Maintenance Tips for Weft Hair Extensions
- Brush gently from ends to roots with a soft bristle or loop brush.
- Use lightweight, extension-friendly products to avoid buildup along the seam.
- Keep heat tools on moderate settings and protect with a heat protectant.
- Dry thoroughly at the track after washing to preserve the bond and avoid odor.
- Schedule routine maintenance or do at-home checks to monitor tension and comfort.
FAQs: DIY Weft Hair Extensions and Clip-Ins
Can DIY Genius-style wefts be cut anywhere? When made correctly with a cured, bonded seam, they can be trimmed to custom widths while maintaining integrity. Always cut after the full dry time.
How many layers should I stack? It depends on hair health and the fullness you want. Many achieve a balanced look with two layers, while stronger hair may handle three to four. Always consider scalp comfort and weight distribution.
Are clip-ins safe for daily use? When applied and removed gently, clip-ins are a flexible, low-commitment option. Rotate positioning to avoid repeated tension in the same spot and store them carefully between wears.
Conclusion: Confident DIY Weft Hair Extensions for Custom, Flexible Results
Making your own “Genius-style” wefts from hand-tied hair lets you combine the sleek profile you love with the flexibility to cut and customize each row. With thin, even adhesive, careful stacking, and full cure time, you can build a durable, low-profile track that installs beautifully and looks natural. You can also maximize your investment by converting older pieces into clip-ins or exploring options like pliable, machine-sewn Flex Wefts made with virgin hair.
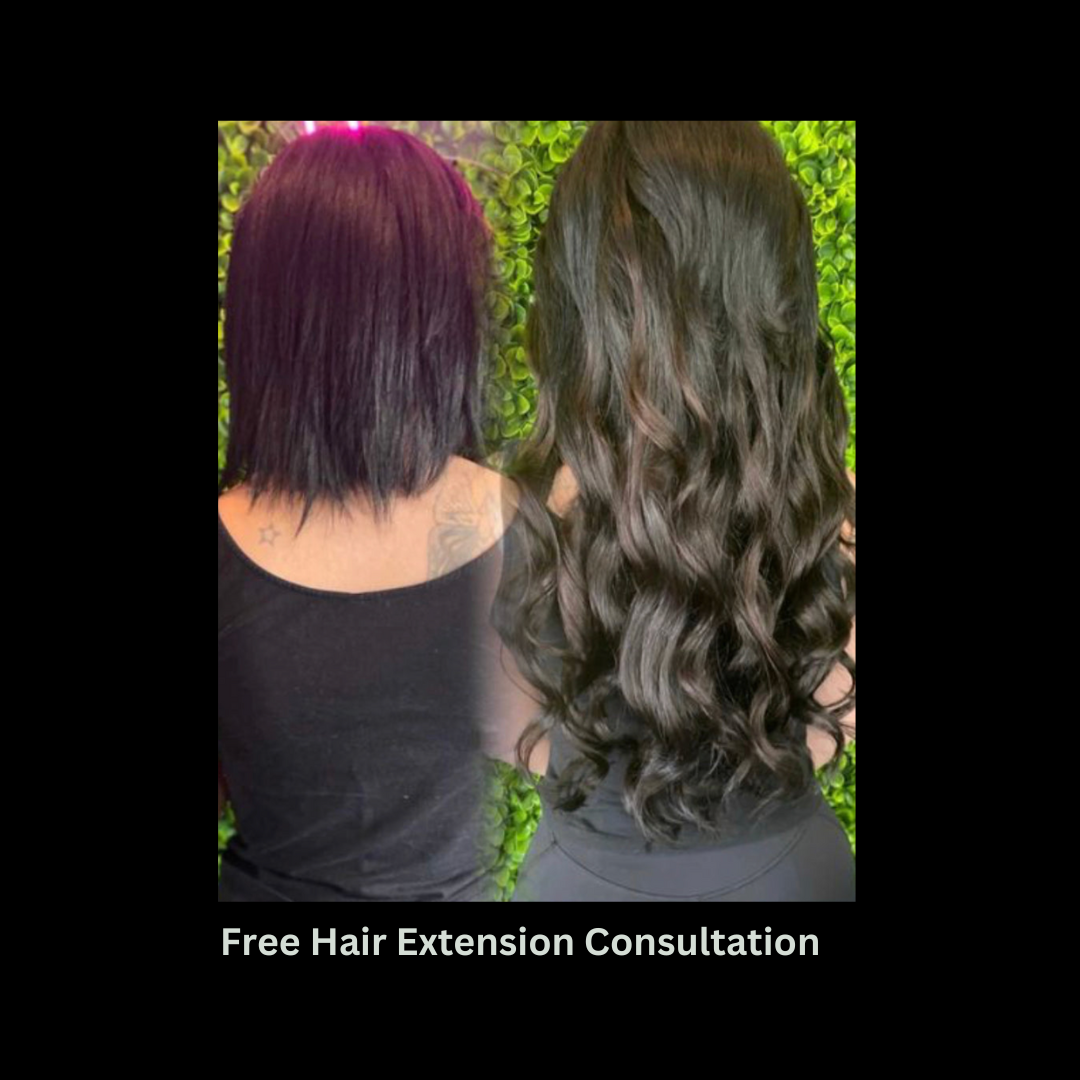
If you want a fully customized, professionally installed result without the guesswork, you can book a free hair extension consultation to have your wefts tailored and applied for a seamless, long-lasting finish.


