

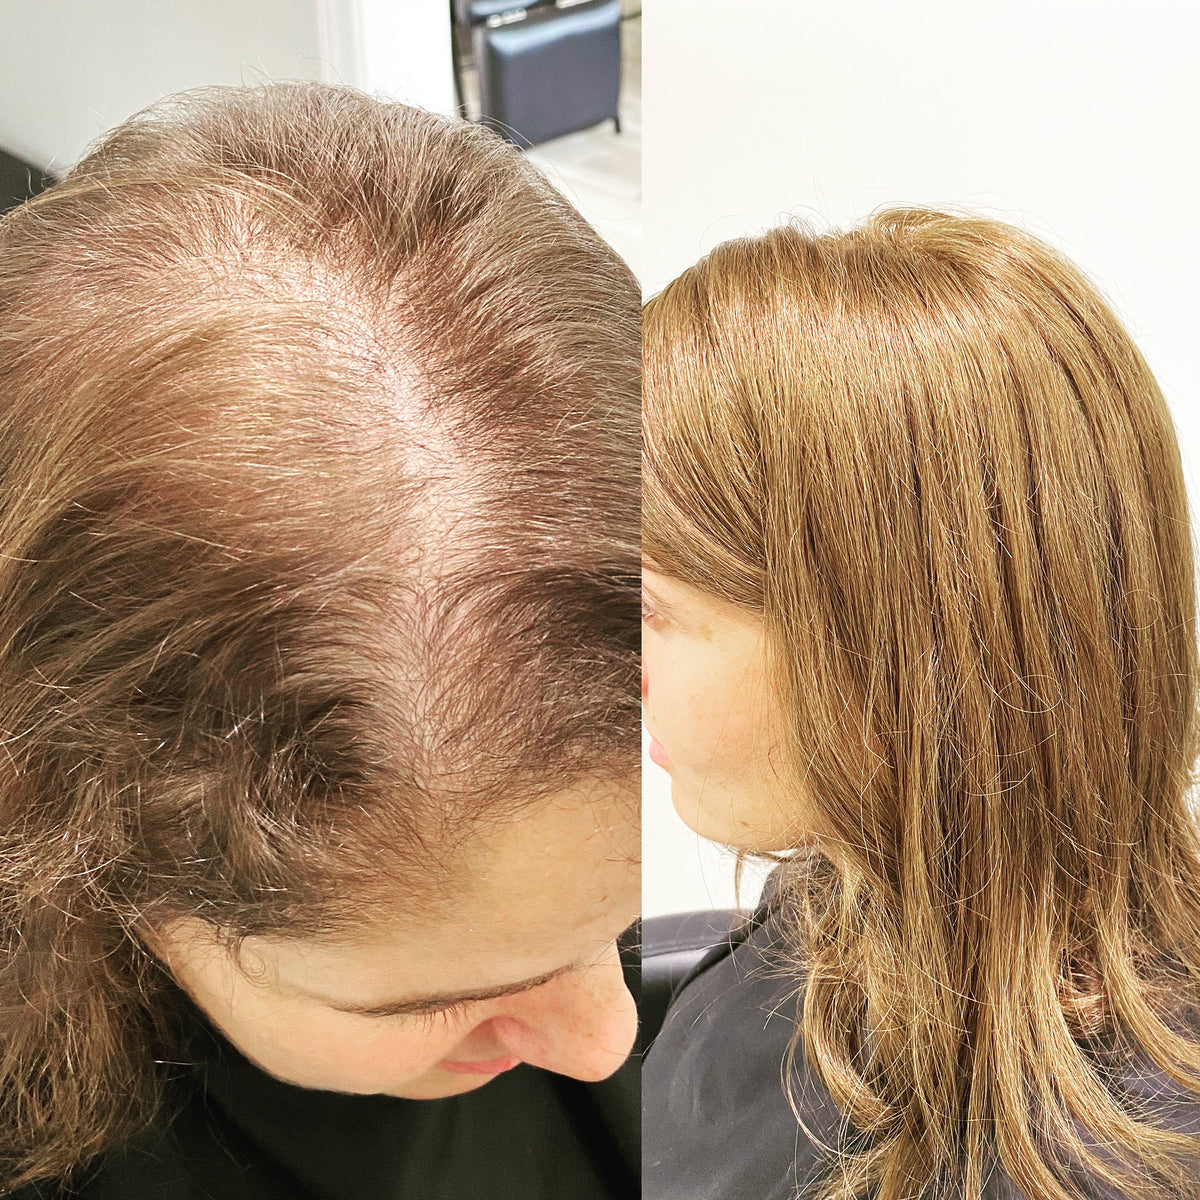


Expert Tips for Safely Removing Hair Extensions
Quick Damage-Free Removal Checklist (TL;DR)
- Removing hair extensions? Don’t just yank them out!
- Use the right tools (rat tail comb, remover, pliers)
- Follow the correct method for your extension type—tape-ins, keratin bonds, sew-ins, etc.
- Be gentle and always use bond or glue removers
- Deep condition, trim ends, and let your hair rest for 2–4 weeks
- Never pull, rip, or skip aftercare
- For expert, damage-free removal, trust Noelle Salon's hair extensions in Boston
Taking out hair extensions gently is just as critical as installing them well. Whether you wear tape-ins, sew-ins, or keratin bonds, using the right removal technique helps prevent breakage, bald spots, and scalp irritation. Imagine tugging on a stuck tape-in—one hard pull can cause matting and snap fragile strands at the root. In this guide, you’ll learn which tools to gather, how to prep your hair, step-by-step removal for each extension type, and smart aftercare to keep your hair strong and damage-free.
What Tools and Prep Do You Need Before Damage-Free Hair Extension Removal?
Start by gathering the right tools for your extension type. Being prepared keeps you organized and minimizes stress on your natural hair. Here’s what you’ll need:
-
Rat tail comb: For clean sectioning and gentle detangling.
-
Coconut oil or adhesive remover: To dissolve bonds or glue without tugging.
-
Scissors or pliers: For snipping threads or carefully loosening beads.
-
Clips: To hold sections in place as you work.
Before removal, wash and condition your hair. Detangle from ends to roots using a wide-tooth comb, then create tidy sections and secure them with clips. With everything in place, you’re ready to begin.
How to Remove Hair Extensions by Type—Damage-Free Methods

Different extension systems call for different techniques to protect your natural hair. Below are clear, step-by-step instructions for safe, damage-free hair extension removal across all popular types.
1. How to Remove Tape-In Extensions for Damage-Free Results
-
Apply tape-in adhesive remover directly to the bond.
-
Allow a brief soak so the adhesive can break down.
-
Use a rat tail comb to gently lift the tape in the opposite direction of installation.
-
Avoid pulling or tugging to prevent breakage.
-
Wash hair with a mild shampoo to remove residue.
Tried this removal at home before?
2. How to Remove K-Tip Extensions (Keratin Tip) at Home—Gentle, Damage-Free Steps
-
Apply keratin bond remover to each bond section.
-
Wait for the adhesive to soften.
-
Gently squeeze the bond with pliers—no pulling.
-
Slide the extension out while holding natural hair near the root.
-
Comb out residue and wash with shampoo; follow with a deep conditioner.
Tried this removal at home before?
3. How to Remove U-Tip Extensions Safely and Without Damage
-
Clip away loose hair for clean sectioning.
-
Apply bond remover to soften the keratin.
-
Crush the bond gently with pliers until it breaks down.
-
Hold your natural hair and slide the extension out carefully.
-
Comb out residue, then shampoo and condition thoroughly.
Tried this removal at home before?
4. How to Remove Clip-In Extensions the Damage-Free Way
-
Open each clip, starting from the nape and moving upward.
-
Detangle with a rat tail comb before removing.
-
Carefully slide out each clip without tugging.
-
Clean hair with a mild shampoo if needed.
Tried this removal at home before?
5. How to Remove Beaded Weft Extensions at Home—Damage-Free Technique
-
Section hair to expose the beads.
-
Use pliers to squeeze or slide beads open gently.
-
Use a rat tail comb to remove tangles.
-
Apply coconut oil or adhesive remover for any glue residue.
-
Shampoo and condition afterward.
Tried this removal at home before?
6. How to Remove Weft Hair Extensions Without Damaging Your Hair
-
Apply adhesive remover along the weft.
-
Wait a few minutes to loosen the bond.
-
Use a rat tail comb to lift the weft gently.
-
Wash with a glue-removal shampoo and condition well.
Tried this removal at home before?
7. How to Remove Beaded Hair Extensions at Home—Gentle, Damage-Free Method
-
Section hair around the beads.
-
Use pliers to open the beads in the opposite direction.
-
Comb gently through tangles.
-
Apply coconut oil or bond remover to dissolve residue.
-
Wash and condition your hair.
Tried this removal at home before?
8. How to Remove Glue-In Hair Extensions Without Damage
-
Apply a glue-specific adhesive remover.
-
Let it sit for several minutes to break down the glue.
-
Use a rat tail comb to slide extensions out gently.
-
Wash and deeply condition your hair.
Tried this removal at home before?
9. How to Remove Sew-In Hair Extensions at Home—Safe and Damage-Free
-
Section hair to access the threads.
-
Carefully cut the threads using small scissors—avoid cutting natural hair.
-
Use a rat tail comb to lift the weft.
-
Apply bond remover or coconut oil to dissolve any glue.
-
Clean with clarifying shampoo and condition well.
Tried this removal at home before?
10. How to Remove Keratin Hair Extensions at Home—Damage-Free Steps
-
Apply bond remover directly to the keratin bonds.
-
Let the adhesive loosen fully.
-
Use a rat tail comb to gently lift the extensions.
-
Use scissors only if necessary to snip any stuck bonds.
-
Wash and treat hair with hydrating products.
Tried this removal at home before?
11. How to Remove Bonded Hair Extensions at Home—Gentle and Safe
-
Apply keratin bond remover or coconut oil to bonded areas.
-
Wait a few minutes for softening.
-
Use a rat tail comb to separate the bonds gently.
-
Avoid pulling to prevent damage.
-
Shampoo and condition your hair afterward.
Tried this removal at home before?
12. How to Remove Micro Ring Hair Extensions Without Damage
-
Section the hair to locate rings.
-
Use pliers to squeeze the rings open in reverse.
-
Slide the extensions out carefully.
-
Shampoo to remove product residue; condition thoroughly.
Tried this removal at home before?
13. How to Remove Fusion Hair Extensions—Damage-Free Process
-
Apply fusion bond remover to the keratin bonds.
-
Let it soak in and soften the glue.
-
Use a rat tail comb to remove extensions in the opposite direction.
-
Wash with gentle shampoo and follow up with conditioner.
Tried this removal at home before?
14. How to Remove V-Light Hair Extensions Safely
-
Apply bond remover or coconut oil to sticky areas.
-
Use a rat tail comb to lift the extensions carefully.
-
Move in the opposite direction of installation.
-
Shampoo and condition to restore hair health.
Tried this removal at home before?
15. How to Remove UV Hair Extensions—Gentle, Damage-Free Steps
-
Start with a UV bond remover on each attachment point.
-
Let it break down the adhesive.
-
Gently lift extensions with a rat tail comb—no tugging.
-
Wash hair with clarifying shampoo and finish with conditioner.
Tried this removal at home before?
Aftercare Tips for Healthy, Damage-Free Hair: What Should You Do After Removing Extensions?
Once you’ve taken out your extensions, targeted aftercare helps prevent damage and rebuild strength. Follow these essentials to keep your hair soft, manageable, and resilient.
1. Use a clarifying shampoo: This removes leftover glue, oil, and product buildup so your scalp feels clean and refreshed.
2. Deep condition your hair: A rich conditioner with ingredients like coconut oil or shea butter restores moisture and nourishes dry strands.
3. Trim split ends: Snipping off damaged ends helps prevent further breakage and keeps your hair looking healthy and polished.
4. Let your hair rest: Avoid installing new extensions immediately. Give your hair at least 2–4 weeks to breathe, heal, and regain strength.
5. Apply nourishing oils: Use coconut, argan, or castor oil to lock in hydration, smooth frizz, and improve overall texture.
6. Detangle gently: Use a wide-tooth or rat tail comb on damp, conditioned hair, starting from the ends to avoid pulling or breakage.
What Not to Do When Removing Hair Extensions
Improper removal can seriously damage your natural hair, leading to breakage, bald spots, or long-term scalp issues. Use this quick reference to avoid mistakes that can compromise your strands and scalp.
1. Don’t rip or pull extensions out: If you’ve slept with hair extensions, pulling can tear your natural hair, causing breakage or bald spots. Always use proper tools and remove in the opposite direction of installation.
2. Don’t skip bond or glue removers: These products safely dissolve adhesive without damaging hair. Skipping them leads to tangles, residue buildup, and potential hair loss.
3. Don’t use excessive heat or tools during removal: Straighteners or curling irons can fry your hair and weaken bonds. Stick to gentle methods like combs and removers for a safer process.
4. Don’t leave tangled residue behind: Leftover glue or knots can lead to matting and breakage. Comb through with care and remove all residue to keep your hair clean and healthy.
Noelle Salon – Your Go-To Hair Extensions Salon in Boston
Looking to reapply extensions the safe, expert-approved way? Noelle Salon is Boston’s premier destination for luxury hair extension services, specializing in seamless installations and professional removal.
Why Choose Noelle Salon?
-
Wide Range of Extensions: From tape-ins and K-tip to wefts and clip-ins, we offer a full spectrum of high-quality extension types.
-
Expert Stylists: Our team custom-matches texture, length, and color for a flawless, natural look.
-
Damage-Free Application & Removal: We use only salon-grade tools and adhesives that protect your hair.
-
Tailored Consultations: Whether you’re new to extensions or a seasoned client, we guide you every step of the way.
Book a 1-on-1 consultation or same-day hair extension appointment with Noelle Salon today and unlock the hair of your dreams.
Conclusion
Damage-free hair extension removal starts with patience, gentle technique, and the right products. Use the proper method for your extension type, reach for tools like a rat tail comb and bond remover, and take your time so each attachment releases cleanly.
Support your natural hair with deep conditioning and regular trims, and give it a short break before reinstalling—those rest weeks help your scalp and strands rebound. With a calm approach and careful aftercare, you can keep your hair healthy, full, and strong while minimizing the risk of shedding or breakage.
Have a tip that worked for you or a question about a specific method? Share your own hair extension removal experience in the comments to help others learn from real-life results.
Frequently Asked Questions
1. Can I remove hair extensions myself at home?
Yes, but follow the correct method based on your extension type. Use proper tools and adhesive removers to avoid damaging your natural hair.
2. How much does it cost to remove hair extensions?
Salon removal can cost $50–$200 depending on type. DIY removal is cheaper, needing only basic tools and products. Book an appointment with Noelle Salon to get the right price depending on your needs.
3. What should I avoid when removing extensions?
Avoid pulling, skipping bond removers, using excessive heat, or leaving tangles. These can cause breakage and hair loss.
4. How do I deal with leftover adhesive or residue?
Use a clarifying shampoo and adhesive remover, followed by a deep conditioner to restore moisture and scalp health.
5. Will removing extensions cause hair loss?
Improper removal can cause breakage or hair loss. Be gentle and use the right products to minimize damage.
6. How soon can I reapply extensions after removal?
Wait 2–4 weeks to let your hair rest and regain strength before reinstalling extensions.
7. How to get hair back to normal after extensions?
Deep condition, trim split ends, avoid heat styling, and massage your scalp to restore strength and shine.


