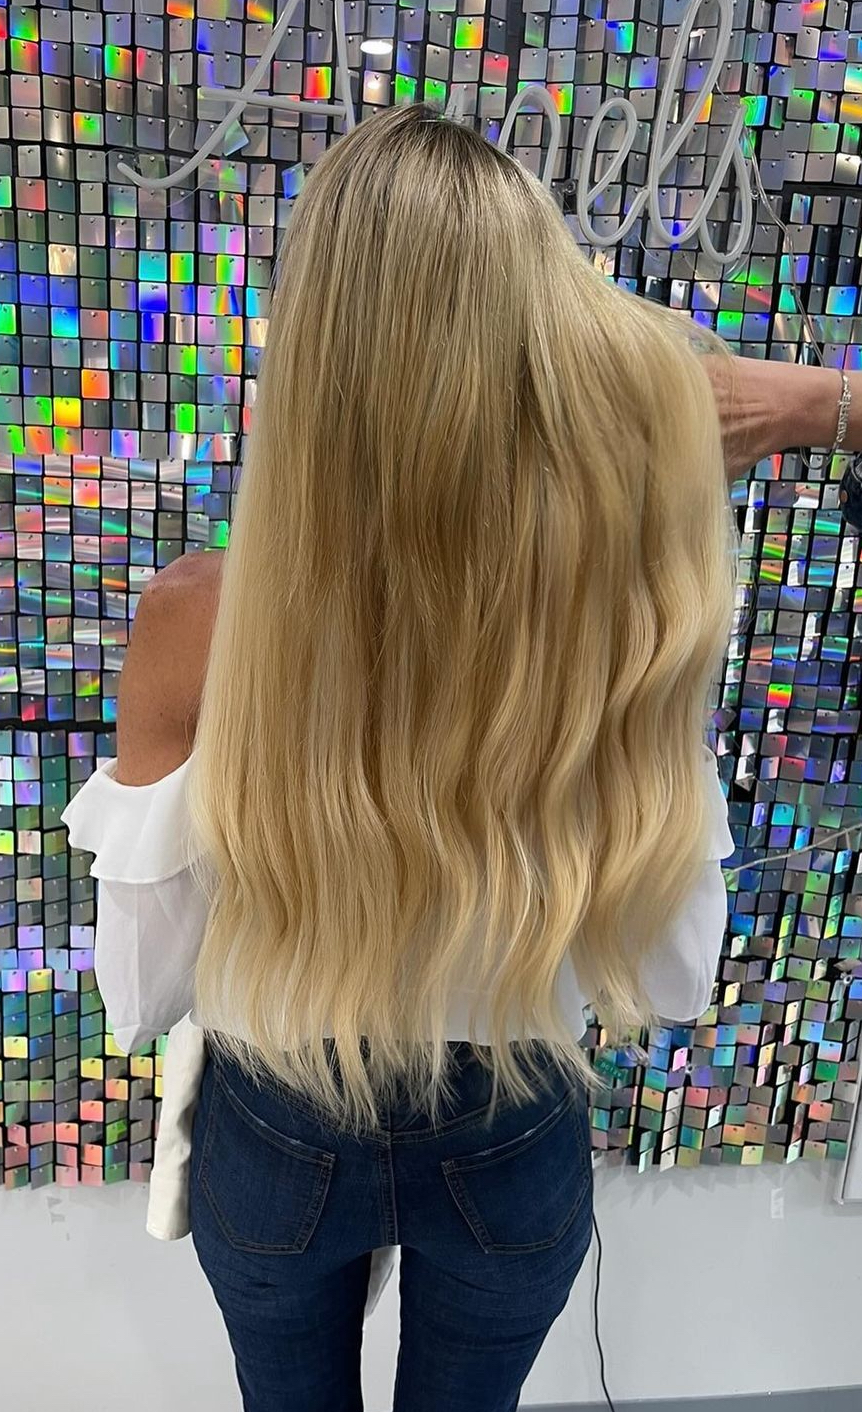
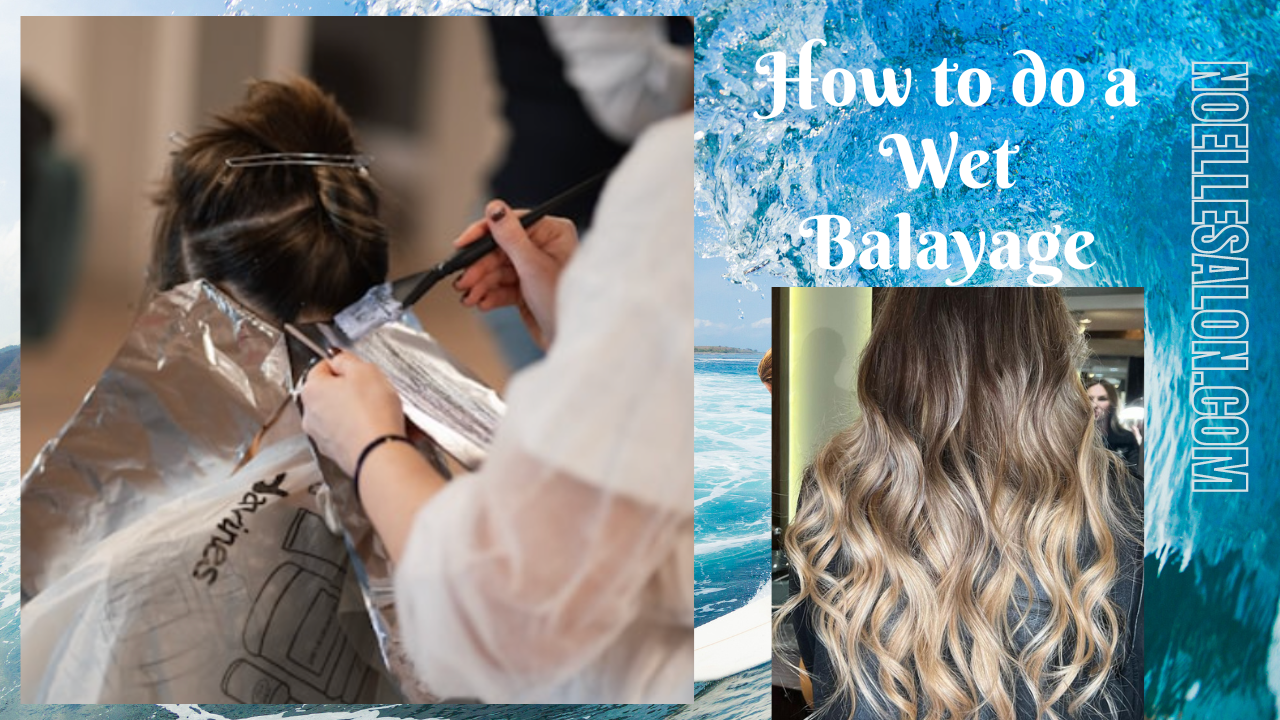
Master Wet Balayage: Expert Tips for Perfect Look
In the world of hair coloring, the traditional balayage technique, specifically wet balayage, and blonde balayage is a technique that has gained popularity as one of the most sought-after techniques of the decade for its beautiful and seamless results, giving a stunning finished look. Mastering wet balayage requires a keen eye for detail and precision to achieve the perfect look every time. Here are some expert tips to help you perfect your wet balayage technique:

What is Wet Balayage?
Wet balayage hair is a hair coloring technique where the hair is dampened, helping control moisture before the balayage application of color. Unlike traditional balayage, which is typically done on dry hair, wet balayage allows for more control and precision in color placement on tresses. This method creates a softer and more natural blend of colors, perfect for achieving that sun-kissed look.
The Wet Balayage technique
The key to mastering the wet balayage hair painting process lies in the technique. Start by sectioning the damp hair into small, manageable sections to ensure even color distribution. Apply the hair color with a gentle hand, focusing on painting the color onto the surface of the hair for a seamless blend. Allow the color to process according to the manufacturer's instructions before rinsing and styling for a flawless finish. Practice and patience are crucial in perfecting this technique, but the results are sure to be worth it.
Wet Balayage Process:
Step 1: Root Glaze
To kick off your wet balayage process, start with a root melt glaze mixed with an activator to create a zero lift, zero damage root shade for a smooth transition from the roots to the rest of the hair. This step helps in blending colors seamlessly and adds depth to the overall look. Choose a shade that complements the base color for a natural appearance.
Step 2: Lighten
After applying the root glaze, the next step in the wet balayage process is to lighten specific sections of the hair. Using a gentle lightening product, carefully paint onto the damp hair to create dimension and highlights. Focus on areas where the sun would naturally hit for a sun-kissed effect.
Step 3: Care
After completing the wet balayage process, it is essential to prioritize hair care, especially for cool blonde shades, to maintain the vibrancy and health of your colored locks and prevent brassy hair. Lightened lengths require extra care to stay vibrant, so opt for sulfate-free shampoos and conditioners to prolong the longevity of the color. Additionally, indulge in a weekly hair mask and regular deep conditioning treatments, and use heat protectants when styling to prevent damage.
Step 4: Glaze
The final step in the wet balayage process is to apply a glaze to lock in the color and add shine to your hair. Choose a glaze that complements the tones used in the balayage for a cohesive finish. The glaze will help seal the cuticle and enhance the overall look of your wet balayage.
Remember, wet balayage is a technique that requires precision and artistry. Take your time during each step, focusing on creating a seamless blend and natural-looking highlights.
What are the Tips and Tricks
1. Sectioning is Key: Divide your hair into small, manageable sections to ensure an even application of color and a seamless blend.
2. Use the Right Tools: Opt for quality balayage brushes and lightening products to achieve precise results without causing damage to your hair.
3. Work Quickly: Balayage on wet hair requires swift application to prevent the color from bleeding or becoming uneven.
4. Blend, Blend, Blend: Take time to blend the colors smoothly for a natural gradient effect, especially at the transition points.
5. Avoid over-saturating the hair with color to maintain a soft, natural look. Remember, less is often more when it comes to wet balayage. Be patient and allow the color to develop gradually for a beautiful, multi-dimensional finish. Your journey to achieving the perfect wet balayage continues with
Teardrop placement for lowlight effect
Teardrop placement for a lowlight effect can add depth and dimension to your wet balayage while providing excellent gray coverage. By strategically placing darker tones in a teardrop shape along the lower sections of your hair, you can create a subtle yet impactful contrast that enhances the overall look. This technique works beautifully to complement the lighter, sun-kissed strands created through balayage, adding richness and texture to your hairstyle.
Wide-tooth comb for blending strands
Achieving the perfect wet balayage requires attention to detail and patience. To maintain a soft, natural look, remember that less is often more in the world of balayage. Allow the color to develop gradually for a beautiful, multi-dimensional finish.
Starting in the front for money piece
Starting in the front for a brighter money piece can instantly uplift your wet balayage, adding a touch of brightness and framing your face beautifully with a trendy fringe. This technique involves strategically placing lighter tones at the front sections, especially through the face frame of your hair to create a face-framing effect that draws attention to your features. The money piece can range from subtle highlights to bold, statement-making shades, depending on your preference and personal style.
Muddy Color Result
Enhancing your balayage with a wet technique can truly elevate your hair game. It's all about creating that subtle yet striking contrast to enhance your overall look. Remember, less is often more when it comes to balayage.
Experiment with different shades and placements to customize the lowlight effect for your unique style. Don't forget to use color-safe products to maintain vibrancy and health. And regular trims are a must for keeping split ends at bay and retaining the shape of your balayage.
For that extra pop, consider starting with a brighter money piece in the front.
Apply Hair Sunscreen
Applying hair sunscreen is essential to protect your color-treated hair, especially after a wet balayage treatment. The sun's UV rays can cause color fading and damage, so incorporating this step into your hair care routine is crucial for maintaining the vibrancy and health of your balayage. Choose a product specifically designed to shield your hair from UV rays while keeping it hydrated and healthy.
Conclusion
In conclusion, a money piece is a key element in enhancing your wet balayage, adding brightness, and framing your face. Experimenting with different shades and placements can help you achieve a unique lowlight effect that complements your personal style. Remember to use color-safe products, get regular trims, and apply hair sunscreen to protect your color-treated hair from sun damage. Taking these steps will ensure your wet balayage stays vibrant and healthy for longer.
Questions:
How long do I leave a wet balayage on?
The duration for leaving a wet balayage on can vary depending on your hair type, desired outcome, and the products being used. Typically, it can range from 30 minutes to an hour or more. It's always best to consult with your stylist for personalized advice based on your specific hair needs and goals.
Is it better to highlight wet or dry hair?
Highlighting wet or dry hair can depend on personal preference and the technique being used by your stylist. Highlighting wet hair can sometimes lead to a more blended and natural look, while highlighting dry hair may allow for more precision in placement and color application. It's recommended to consult with your stylist to determine the best approach based on your hair type and desired outcome.
What developer should be used?
For wet balayage, a lower volume developer like 20 or 30 is usually recommended. This helps achieve a more subtle and natural-looking result while also being gentle on the hair. However, the specific developer, such as Formula B, to be used can vary based on your hair's condition and the desired level of lift


