

Achieve Perfect Hairline with Expert Wig Plucking Techniques

One of the most important details in achieving a realistic wig is the hairline.
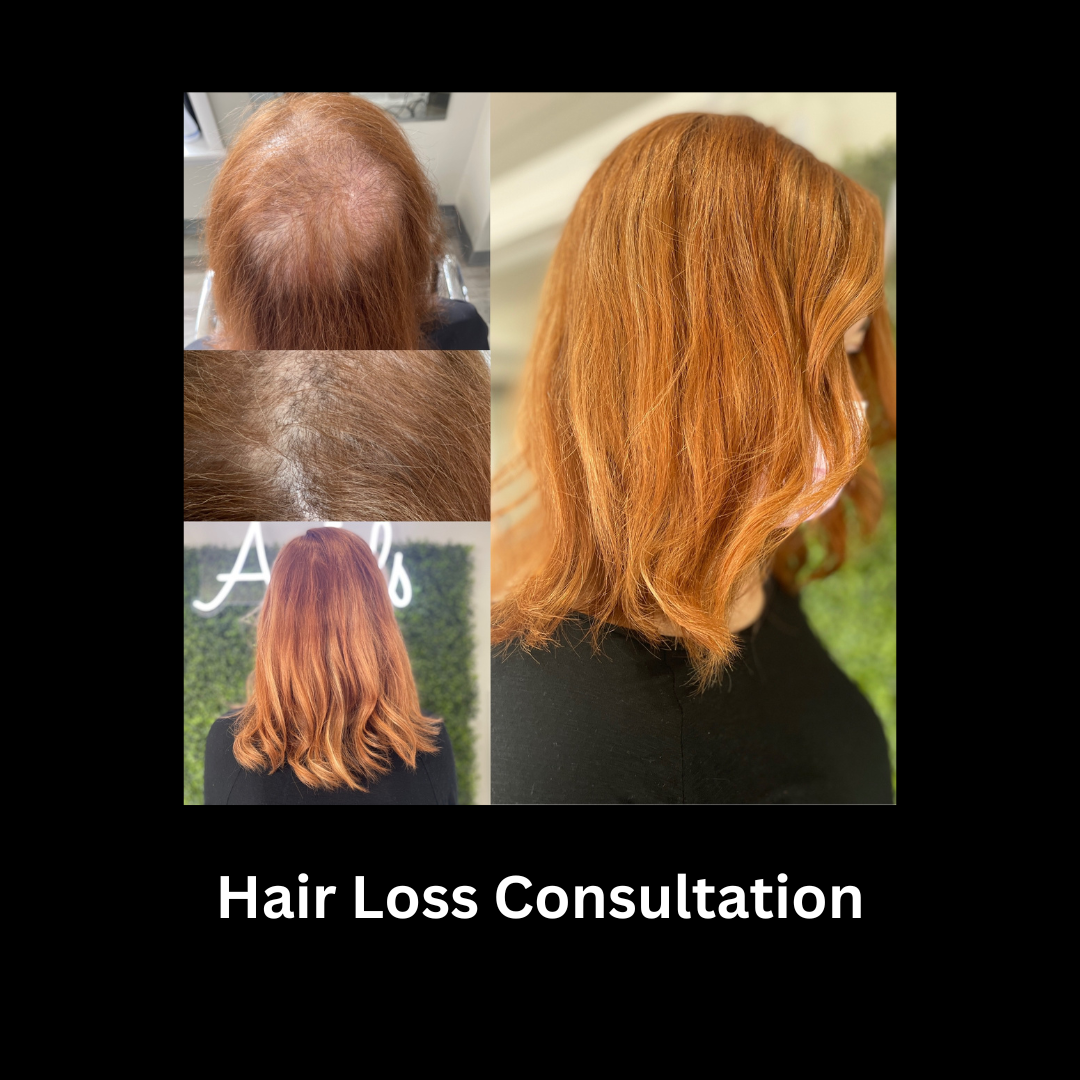
For many clients exploring hair loss Boston solutions, the difference between a wig that looks noticeable and one that looks completely natural comes down to how well the hairline blends with the scalp.
Lace front and frontal wigs are designed to create this effect—but proper plucking is what refines the hairline and removes excess density, allowing it to mimic natural hair growth.
When done correctly, plucking softens the front edge, creates variation, and makes the wig look more seamless in everyday wear.
Many of our wigs and toppers come pre-plucked for convenience, but understanding this technique helps you maintain and customize your look over time.
In this guide, we’ll walk through how wig plucking works, when it’s needed, and how to achieve the most natural result possible.
Understanding Wig Plucking and Its Importance

No one wants their wig to look obviously like a wig. A sign of an uncustomized wig is a thick, fake-looking hairline. This is why wig plucking is important.
Wig plucking is a great way to make your hairline look natural. It helps you adjust the density and shape of your wig’s hairline to match your own. This gives you a smooth and unnoticeable look.
What is Wig Plucking?
Wig plucking is the process of removing excess hair from the hairline of a lace wig. You do this with tweezers on wet hair or dry hair. This helps to thin out the hair at the front of the wig, helping it achieve a more natural look. It may be beneficial to bleach the knots before plucking to ensure a seamless appearance. By taking out individual strands and plucking a little bit, you can make the hair look like natural hair, which grows with different lengths and a softer look.
Instead of having a sharp, straight line, plucking makes a gradual fade. This gives the impression that the hair is coming directly from your scalp. The result is a hairline that looks natural and fits well with your features, enhancing your wig style.
Whether you've worn wigs for a long time or you're just starting to use lace fronts, learning how to pluck is important. This skill helps you achieve a beautiful, undetectable look.
Benefits of Plucking Your Wig for a Natural Look
One major reason wig plucking is so helpful is how it changes the front wig. By thinning out the hairline and making a soft gradient, you can get rid of that “wiggy” look many lace fronts have when they are not customized.
Plucking helps you create soft, delicate baby hairs that make the wig look even more real. Placing these baby hairs around the hairline and temples makes the look softer and more natural.
When you wear a carefully plucked wig, you can feel confident. Your hair will look very natural and fit your style well.
Preparing to Pluck Your Wig: What You Need
Before you start plucking, it’s important to get the right tools and set up your workspace. When you have everything within reach, it makes the process easier and more enjoyable.
You will need the right tweezers and a sturdy wig stand. Each item helps you pluck precisely and effectively. So, let’s collect our supplies and make a space where we can work on creating a flawless hairline.
Essential Tools and Materials for Wig Plucking
Here's a list of must-have items for your wig-plucking tasks:
- A Mannequin Head: You need a Styrofoam or canvas mannequin head. It holds your wig in place while you work.
- Sharp Tweezers: Choose sharp, slanted tweezers. They give you better grip and precision for pulling out individual hairs.
- Rat-Tail Comb: Use the pointy end of a rat-tail comb. It helps you create clean, precise sections while you pluck.
- Styling Products: Mousse or hairspray can help manage flyaways. They keep the hair steady while you pluck.
- Optional: You might want a spray bottle with water. Lightly misting the hair can make it easier to handle. But some people like to pluck dry hair.
Setting Up Your Workspace for Success
Choosing the right workspace is crucial for a successful plucking session. Ideally, find a well-lit area where you can comfortably sit and work. Good lighting is essential for seeing those fine hairs and achieving precise results.
Secure your wig stand on a stable surface to prevent any mishaps. If you're working with delicate hd lace wigs, extra care is needed to avoid tearing or damaging the lace.
Here’s an example of how to organize your workspace:
|
Item |
Location |
|
Wig stand with wig |
Directly in front of you |
|
Tweezers |
Within easy reach on your dominant side |
|
Comb |
Within easy reach |
|
Styling products |
Within easy reach |
|
Mirror |
Positioned for clear visibility |
A Beginner’s Guide to Plucking Your Wig

Ready to change your wig from good to amazing? We have made the wig plucking process easy with simple steps for beginners. Just remember, practice is key, so take your time and be patient.
As you get better, you will build your confidence to make your wigs look natural, just like a pro. Now, let’s start plucking!
Step 1: Securing the Wig on a Stand
The first step is to make sure your wig is secure on the wig head. This stops it from slipping while you pluck, which helps you be more precise.
Start by putting your wig cap (if you have one) on the wig head. Then carefully place your wig so the hairline is about one inch where it would be on your head. When you like the position, use T-pins to hold the wig in place. Put the pins along the hairline, nape, and sides for a strong hold.
Make sure the wig is flat against the wig head. This will help avoid any bunching or uneven spots while you are in the plucking process.
Step 2: Mapping Out the Hairline
Before you start plucking, it's important to have a plan. First, look at your natural hairline. Notice its shape, thickness, and where it naturally recedes.
Take your rat-tail comb and carefully part small sections of hair along the hairline. Try to follow the shape you want to get. This "mapping" trick will help you pluck evenly and keep a natural look.
Keep in mind, you want a soft, gradual fade. So, do not make harsh lines or pull out too much hair at one time.
Step 3: The Plucking Process
The main tip for a good plucking process is to work in small parts and be patient. Start at one side of the hairline. Hold the tweezers in your strong hand and gently pluck away extra hairs, one or two at a time.
Aim to remove hairs from the base of the lace, close to the knots. Do not pull or tug on the hair, as this can hurt the lace and cause shedding. While you pluck, hold the hair section tight with your other hand. This will reduce pulling on the scalp.
Keep in mind that less is more! It's better to take away hair slowly than to fix a hairline that has been over-plucked.
Step 4: Creating Natural-Looking Baby Hairs
Baby hairs are the fine and soft hairs that grow along the hairline. They help in making the look more natural. To add baby hairs to your wig, begin by dividing a very thin row of hair at the hairline with your rat-tail comb.
Next, use tweezers to carefully pluck out extra hair behind the section you made. This will make the hairline thinner and let the baby hairs show more. When you like how it looks, use small scissors or an eyebrow razor to cut the baby hairs to the length you want.
Don't forget to style your baby hairs so they mix well with the rest of the hair for a truly natural look.
Conclusion
Achieving a natural-looking wig hairline comes down to precision. Proper plucking softens density, creates variation, and allows the hairline to blend seamlessly with your scalp—making the difference between a wig that looks obvious and one that looks completely natural.
While learning the technique can help with maintenance, over-plucking or improper placement can quickly damage the lace or affect the overall look.
That’s why professional customization matters.
At a specialist in hair loss Boston clients trust, we go beyond basic plucking—using advanced techniques to refine the hairline, customize density, and ensure your wig or topper looks natural from every angle. Many of our pieces come pre-plucked, but we further tailor them to your unique features for the most realistic result.
If you want a wig that truly looks and feels like your own hair, it’s time to book a hair loss consultation and have your piece professionally customized.
Frequently Asked Questions
Can I Pluck a Synthetic Wig?
No, you should not pluck a synthetic wig. Plucking is made for human hair wigs. Synthetic hair wigs are made from fibers that do not react like human hair. Plucking them can cause damage and make the wig look unnatural.
How Often Should I Pluck My Wig to Maintain Its Natural Look?
The amount of plucking you do depends on how much hair you take out and how often you wear the wig. Normally, you won't have to do the whole plucking process often. This is true if you are careful and don't pluck too much hair. To keep the wig looking natural, you may need to do some touch-ups every few weeks or months.


