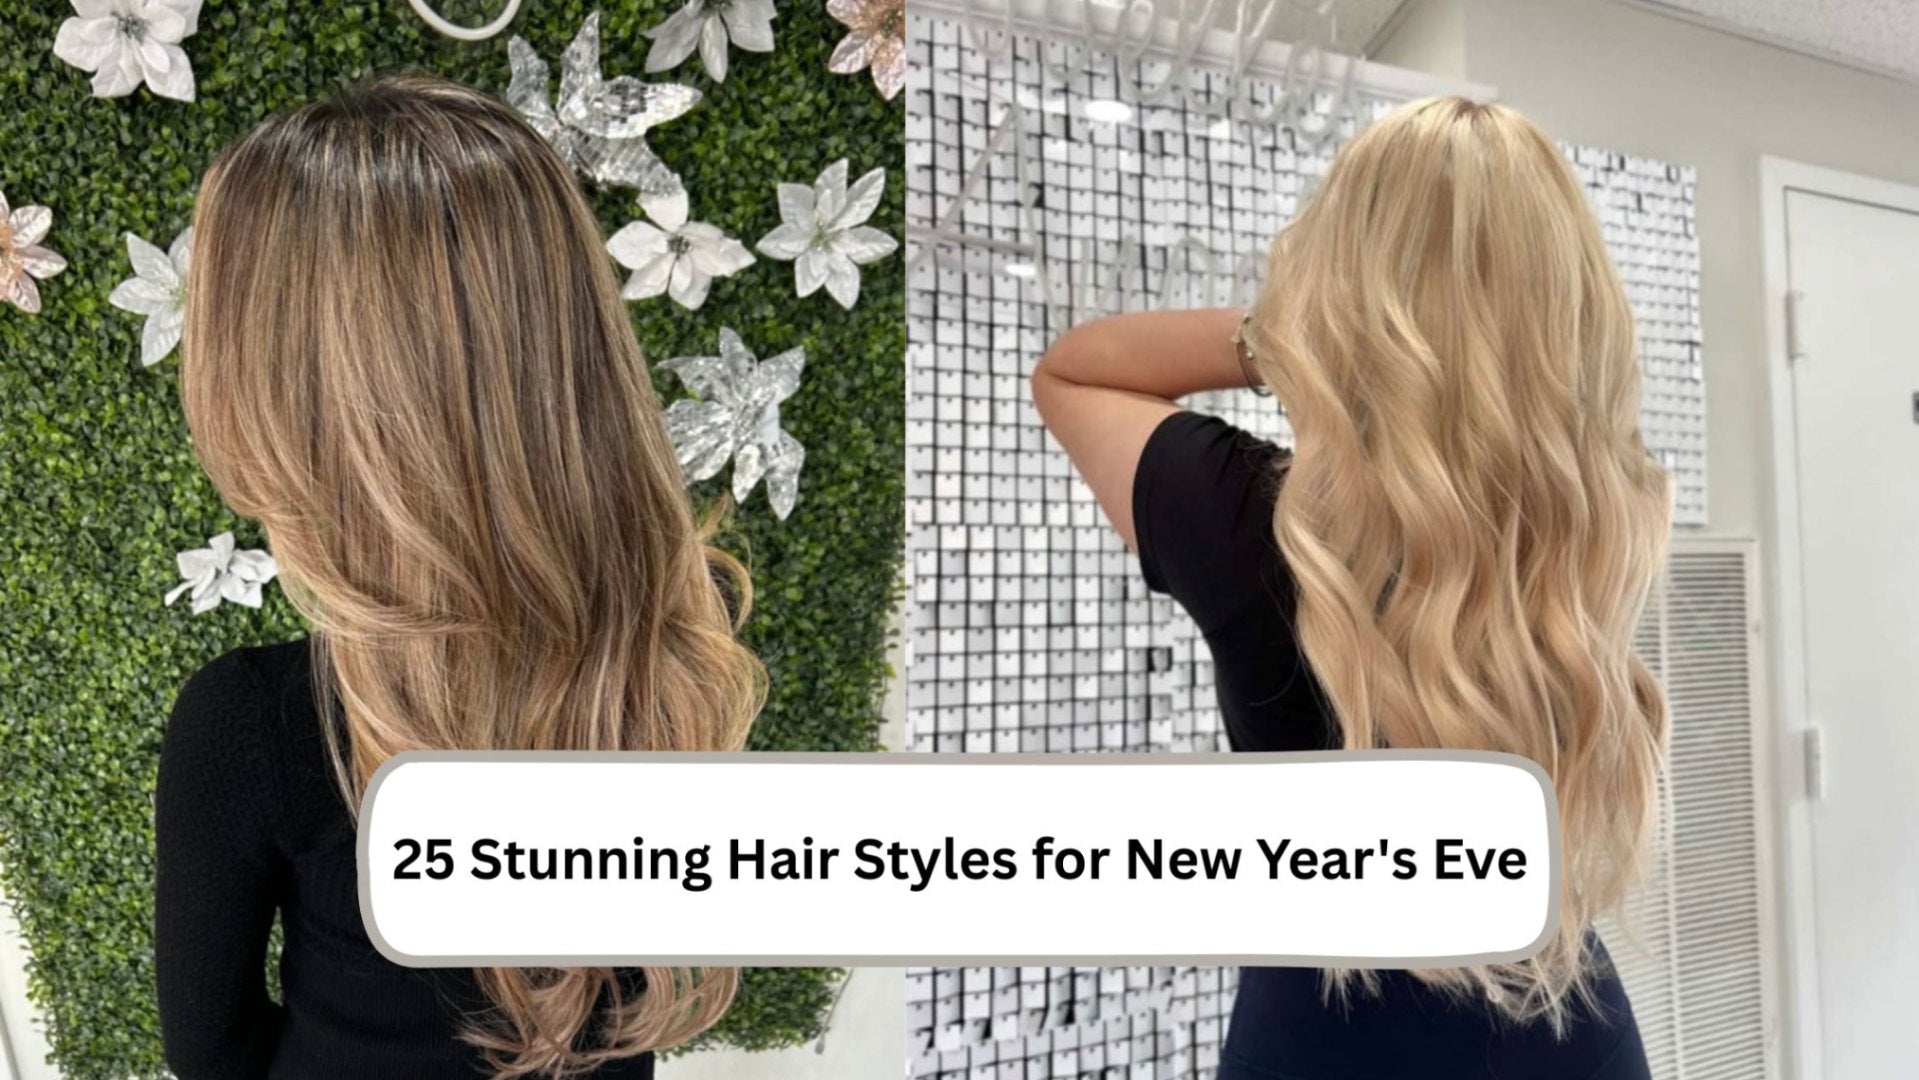
Master the Art of Clip-In Hair Extensions: A Step-by-Step Installation Guide
Looking to instantly upgrade your hairstyle without spending hours and dollars at the salon? Clip-in hair extensions might just be your new best friend. These versatile, easy-to-use extensions are made from real human hair, allowing you to effortlessly add length, volume, and even a pop of color to your natural hair. Whether you're aiming for bold glam or subtle everyday style, clip-ins offer salon-quality results without damage, glue, or commitment.
In this blog, we’ll walk you through exactly how to install clip-in hair extensions step by step, so you can achieve a flawless, natural look with confidence. Ready to master the art of clip-ins? Let’s get started!
How to Install Clip In Hair Extensions?

Installing clip-in hair extensions might feel complex at first, but it’s simple with the correct approach. This method ensures that your extensions remain undetectable and blend seamlessly into your natural hair. Once applied, you can style your hair into curls, buns, or smooth looks. Keep reading for more details on how to integrate clip-ins for a consistent, natural effect, including insights into their benefits and step-by-step guidance.
What are Clip In Extensions and How Do They Work?
Clip-in hair extensions are wefts of hair attached to small, pressure-sensitive clips that easily snap open and shut. Designed for quick, DIY application, they add instant length and volume by clipping close to the scalp and blending with your natural hair.
They’re ideal for temporary styling, no glue, heat, or damage involved. You can place them precisely where you need extra fullness or length. Clip-ins come in both synthetic and Remy human hair, with Remy offering the most natural look, feel, and longevity. Perfect for everyday glam or special occasions!
Why You’ll Love Clip In Extensions?
Clip-in hair extensions are a practical solution for enhancing your hairstyle without long-term commitment. Whether you're new to extensions or looking for a low-maintenance option, clip-ins offer several advantages that make them a smart choice.
-
Easy & Quick Application: Clip-in extensions snap in within minutes, no salon visit needed. Ideal for beginners and on-the-go styling.
-
Damage-Free: No glue, heat, or chemicals means your natural hair stays healthy, even with frequent use.
-
Versatile Styling: Add volume, length, or color. Style them straight, curly, in ponytails, or updos to match any look.
-
Affordable & Reusable: A budget-friendly option, especially Remy human hair sets, which can last for months with proper care.
-
Suitable for All Hair Types: Perfect for thin, thick, curly, or straight hair. Great for everyday glam or special occasions.
How to Apply Clip In Hair Extensions: Step-by-Step Installation Guide
If you're new to clip-in hair extensions or just want a smoother, more secure application, this guide is for you. Below, we break down the process into clear, easy-to-follow steps, from prep to styling, so you can install your extensions confidently and achieve a natural, salon-quality look right at home.
Step 1: Preparing Your Hair

Begin by washing and drying your hair completely, as clip-ins adhere better to clean surfaces. Detangle your locks using a comb and smooth them out to eliminate knots. Apply a heat protectant if heat styling is intended later.
Divide your extensions into groups by size for easier access during application. Lastly, gather any essential tools, such as alligator clips and a mirror, to have them within reach throughout the process.
Step 2: Sectioning Your Hair

Sectioning ensures even coverage and a natural finish. Start by separating a thin section of hair at your nape, just enough hair to conceal the base of the first weft. Use a tail comb for accuracy and secure the rest of your hair on top using clips.
Each section of hair should allow sufficient room for the clips to grip without pulling or sliding. Repeat this sectioning technique as you move upward on the back of your head. Create sections that are parallel, ensuring consistency across the arrangement.
Step 3: Aligning the Extensions and Securing the Clips

Begin by opening the middle clip of the weft and position it along the parted section. This clip should be placed securely at the back of your head to provide balance.
Attach the middle clip first for stability, then work outward fastening the side clips firmly. Keep the clips close to the roots for better hold. Incorrect alignment can result in the extensions looking unnatural or slipping, so take time to adjust the pieces.
Step 4: Blending and Styling

Gently brush through your hair and the installed extensions with a wide-tooth comb. Focus on creating curls or waves to unify the textures; even a simple bun can work wonders.
Finish with a light mist of hairspray to hold the style in place. Avoid exposing the clips to excessive heat while styling, as it might weaken the attachment. Blended correctly, your extensions will appear completely natural, enhancing your overall hairstyle.
How to Put in 8 Piece Clip In Hair Extensions?
An 8-piece clip-in set features wefts in various widths with small pressure clips, perfect for achieving full coverage and voluminous hair with a customizable fit.
Steps for Installing 8 Piece Clip In Hair Extensions:
|
Steps |
Instructions |
|---|---|
|
Brush your hair thoroughly and organize the wefts by size. |
|
Start at the nape of your neck and create a horizontal part. |
|
- Attach the widest weft at the back. |
|
Clip each weft close to the scalp and gently tug to ensure it’s firmly in place. |
|
Style your natural hair and extensions together for a cohesive, natural finish. |
How to Put in 7 Piece Clip In Hair Extensions?
7-piece clip-in extensions come in varying weft sizes, designed to add natural-looking volume and length. Lightweight and easy to use, they’re ideal for both everyday wear and special occasions.
Steps for Installing 7 Piece Clip-In Hair Extensions:
|
Steps |
Instructions |
|---|---|
|
Brush and detangle clean, dry hair. |
|
Separate wefts by size to plan placement. |
|
Part hair horizontally at the nape. |
|
Clip in the largest weft at the base. |
|
Add medium wefts as you move upward. |
|
Clip in smaller wefts near temples. |
|
Leave hair at the crown to hide clips. |
|
Gently brush through and style a desired. |
How to Install Curly Clip In Hair Extensions?
Curly clip-in extensions add instant volume, bounce, and texture to naturally curly or wavy hair. These pre-styled wefts blend beautifully with your own curls, helping you achieve a fuller look without the damage or commitment of permanent extensions. Perfect for quick styling, they help you elevate your natural curls for any occasion.
Steps for Installing Curly Clip In Hair Extensions:
|
Steps |
Instructions |
|---|---|
|
Start with clean, dry, and fully detangled natural hair. |
|
Section your hair horizontally, beginning at the nape of your neck. |
|
Open the clips on the widest weft and securely attach it close to your scalp. |
|
Work your way up, clipping smaller wefts along the midsection and sides. |
|
Gently finger curl or fluff your natural hair and the extensions together for a natural finish. |
|
Leave enough natural hair at the top to completely cover the clips. |
|
Mist with curl refresher spray or leave-in conditioner to maintain bounce and moisture. |
How to Put in Clip-In Extensions for Thin Hair?
Clip-in extensions for thin hair are specially designed to enhance volume and length without weighing down or damaging fragile strands. Lightweight and discreet, these extensions blend seamlessly with fine hair textures and are a great solution for anyone looking to boost body and fullness with minimal effort.
Steps for Installing Clip-In Extensions for Thin Hair:
|
Steps |
Instructions |
|---|---|
|
Start with clean, dry, and straightened hair for better grip and blend. |
|
Create a thin horizontal section at the nape, leaving enough hair on top. |
|
Attach the widest weft first—start with the middle clip, then secure the sides. |
|
Add 1–2 more wefts, spaced evenly as you move upward. Don’t overcrowd. |
|
Release top hair, brush gently, and style lightly for a soft, natural finish. |
How to Put in Clip In Extensions Short Hair?
Think short hair means limited styling options? Think again! Clip-in extensions for short hair are a game-changer, giving you the freedom to add instant length, volume, or texture, no salon trip required. Whether you’re craving a bold transformation or a soft layered look, clip-ins let you switch up your style while keeping your natural hair protected and untouched.
Steps for Installing Clip In Hair Extensions for Short Hair:
|
Steps |
Instructions |
|---|---|
|
Start with clean, dry hair. Brush out tangles gently. |
|
Clip up the top half to expose the lower layers. |
|
Begin at the nape with shorter, narrower wefts. Secure clips starting from the middle clip. |
|
Add more wefts moving upward, creating clean partings with a tail comb. |
|
Release the top hair layer and brush to blend extensions naturally. |
How to Put in Clip In Extensions for Black Hair?
Clip-in extensions for black hair are designed to blend seamlessly with textured hair types, from natural curls and coils to relaxed or straightened styles. Whether you’re rocking a silk press, twist-out, or protective style, clip-ins offer a quick, damage-free way to boost length, volume, and versatility, without compromising your hair’s health or curl pattern.
Steps for Installing Clip In Extensions for Black Hair:
|
Steps |
Instructions |
|---|---|
|
Begin with clean, dry, and thoroughly detangled hair for a smooth base. |
|
Use a tail comb to part hair horizontally at the nape of your neck. |
|
Start with the widest weft at the bottom, working up with smaller wefts. |
|
Finger-style or use a wide-tooth comb to blend your hair with the extensions. |
|
Finish with a curl refresher or light mist of hairspray for hold and definition. |
How to Put in Clip In Hair Extensions Yourself?
Clip-in hair extensions yourself means taking control of your hair transformation with a DIY approach, no salon appointment needed! These easy-to-use extensions come with small clips that let you add instant length, volume, or color in minutes, right at home. Perfect for anyone who loves experimenting with their look or needs a quick style upgrade, installing clip-ins yourself is simple, affordable, and damage-free.
Steps for Installing Clip In Hair Extensions Yourself:
|
Steps |
Instructions |
|---|---|
|
Use a tail comb to create a horizontal part at the nape of your neck. |
|
Attach the largest weft first, working upward with smaller wefts. |
|
Use fingers or a wide-tooth comb to blend extensions with your natural hair. |
|
Style as desired and double-check that all clips are secure and hidden. |
How to Put in Clip In Colored Hair Extensions?
Adding a pop of color to your hair is easier than ever with clip-in colored extensions. These fun, versatile accessories let you experiment with bold blues, fiery reds, or soft pastels, without damage or long-term commitment. Perfect for seasonal changes or special occasions, they blend seamlessly with natural hair and offer a playful way to express your style instantly.
Steps for Installing Clip In Colored Hair Extensions:
|
Step |
Instructions |
|---|---|
|
Start with clean, dry, detangled hair. |
|
Create a horizontal part at the nape. Clip in the largest colored wefts first. |
|
Place smaller wefts higher up for balanced color placement. |
|
Blend with fingers or a wide-tooth comb. Style as desired—avoid direct heat. |
How to Put Clip In Hair Extensions into a Ponytail?
These types of extensions let you instantly boost the length, volume, and fullness of your ponytail without any permanent changes. This technique is perfect for creating sleek, thick ponytails that look natural and glamorous. Whether you want a polished look for work or a dramatic style for a night out, clip-ins make it easy to achieve a ponytail that turns heads quickly and effortlessly.
Steps for Installing Clip In Hair Extensions into a Ponytail:
|
Steps |
Instructions |
|---|---|
|
Gather your hair into a ponytail and secure with an elastic. |
|
Open the clips on the extension and secure them around your ponytail base. |
|
Wrap the extension’s strand or an extra weft around the elastic to hide the clips. |
|
Gently brush to blend, then finish with hairspray or styling product. |
Want to Master Clip In Hair Extensions? Here's How!
Looking to elevate your hairstyle with clip-in extensions but want to make sure you get it right? Using clip-in hair extensions the right way can make all the difference between a flawless, natural look and one that feels uncomfortable or looks artificial. Here are some essential tips and best practices to help you install, maintain, and care for your extensions like a pro.
1. Choose the Right Extensions for Your Hair Type
Picking the right extensions depends on your hair type and style needs. For fine hair, select lightweight wefts that won’t strain your scalp, ideally no thicker than an inch. Thicker hair supports more voluminous clips. Match texture and color closely, and use a tail comb to part hair evenly, starting from the left side for balanced sectioning.
2. Always Start with Clean, Dry Hair
Preparing your hair is crucial for achieving the best results with clip-in extensions. Clean and dry hair provides an ideal foundation, ensuring that the wefts adhere properly and smoothly. Any residual product or moisture can lead to slipping, compromising the overall look. Using a heat protectant before styling can further safeguard your natural hair while enhancing longevity.
3. Section Strategically for Even Placement
Strategically sectioning hair is essential for achieving a seamless blend with clip-in extensions. This technique allows each weft to lay flat against the scalp, ensuring an even and natural appearance. Use a tail comb to create precise sections, making sure there is enough hair on top to cover the clips for a flawless finish.
4. Don’t Sleep or Shower with Clip-Ins
Sleeping with them can cause tangling and potential damage, leading to a shorter lifespan. Similarly, exposure to water while showering could loosen the clips or create moisture-related issues, affecting the texture of the extensions. For optimal care, make sure to remove them before resting or bathing.
5. Store Properly Between Uses
Utilizing the original packaging or investing in a dedicated hanger prevents tangling and damage. Storing them in a cool, dry place avoids excessive heat exposure that can affect their texture. For added protection, consider laying them flat inside a designated storage box, preserving both their vibrancy and integrity for the next use.
6. Minimize Product Buildup
Opt for lightweight styling products and avoid heavy creams or oils that may weigh down the wefts. Regularly cleanse your extensions using a gentle, sulfate-free shampoo to maintain their luster. Utilizing a heat protectant is crucial when styling to prevent damage, while a soft brush or tail comb can help to detangle without creating excess friction.
7. Regularly Check for Wear and Tear
Regularly checking for wear and tear helps identify any fraying wefts, loose clips, or damaged strands before they become an issue. It’s advisable to evaluate each section carefully, especially the attachment points, to ensure a secure fit. Just as with your natural hair, keeping extensions in prime condition enables versatile styling options without compromising their integrity.
Why Choose Noelle Salon for Your Hair Extension Needs
At Noelle Salon, quality and expertise come together to offer you the ultimate hair extension experience. Our team of highly skilled professionals specializes in flawless application, ensuring every extension blends seamlessly with your natural hair for a stunning, natural finish. We proudly use 100% Remy hair, renowned for its superior softness, durability, and tangle-free texture, so you can enjoy long-lasting, beautiful results.
Book your consultation today and let Noelle Salon elevate your style with premium extensions and expert care designed just for you.
The Beauty of Clip In Extensions
Clip-in hair extensions are a game-changer for anyone looking to enhance their hairstyle without a long-term commitment. Whether you're aiming for extra volume, added length, or a fun pop of color, these extensions deliver instant results with minimal effort. By following the right installation techniques and best practices, you can achieve a natural, flawless look every time.
From casual days to special events, clip-ins offer the flexibility to switch up your style whenever you choose. With proper care and storage, they can stay looking fresh and vibrant, ready to elevate your hair game whenever inspiration strikes.
Frequently Asked Questions
How do I choose the right color and texture for clip in hair extensions?
To choose the right color and texture for clip-in hair extensions, consider your natural hair shade and style. Match the hues closely to ensure a seamless blend, and select textures that complement your hair type, whether straight, wavy, or curly, for a natural look.
How to place clip in hair extensions for a natural look?
To achieve a natural look with clip-in hair extensions, ensure proper blending with your natural hair by choosing similar colors and textures. Utilize strategic placement, starting at the bottom and working upwards. Lastly, style to match your hair’s movement for seamless integration.
How many clip in wefts should I use for a natural look?
For a natural look, using 5 to 7 clip-in wefts is ideal. This ensures even coverage and adds volume without looking overly bulky. Adjust the number based on your hair thickness and desired fullness, ensuring each piece blends seamlessly with your natural hair.
Will clip in extensions damage my natural hair?
Clip-in extensions are designed for easy application and removal, causing minimal to no damage when used correctly. They do not require adhesives or heat, making them safer for your natural hair. Proper care and usage ensure your hair remains healthy and intact.
How to put hair up with clip in extensions?
To put hair up with clip-in extensions, start by sectioning your hair. Clip in the extensions at the base for added volume, then gather your hair into a ponytail or bun. Secure it tightly to blend both natural and extension hair seamlessly.