
Mastering Hair Extensions for Short Hair: Essential Techniques for Every Texture
Short hair can make hair extensions feel like assembling a jigsaw with tiny pieces—every section must align for a natural finish. Short lengths reveal more, so placement, blending, and method selection demand precision. Thick hair with a strong weight line often needs more aggressive blending to soften harsh steps, while fine or thin hair benefits from extensions that lie flat and reduce bulk, such as Veila pull-thru, sew-in methods, and tape hair extensions. With an experienced stylist and a thoughtful plan, a seamless blend is realistic—even on very short cuts. Below, you’ll find targeted techniques for thin and thick short hair; medium textures typically sit between these strategies. While individual strands can hide well in fine hair, they are not always the most efficient option on short, dense hair where headspace is limited and a fuller application is required for a flawless blend.
Quick definitions to guide your choices:
- Tape-in extensions: Thin wefts with adhesive tabs that sandwich a slice of natural hair; known for lying flat and blending well on fine hair.
- Clip-in extensions: Temporary pieces attached with small clips; ideal for occasional wear and quick transformations without commitment.
- Keratin/fusion bonds: Individual strands bonded to small sections of hair; customizable placement but requires time and careful removal.
- Sew-in/weft: Wefts stitched to a beaded track or braid; great for density and long wear when properly maintained.
- Pull-thru (e.g., Veila): Wefts secured with tiny silicone-lined rings; reusable and designed to reduce tension when correctly installed.
- Hand-tied wefts: Lightweight, flexible wefts layered for fullness; favored for comfort and a natural drape.
Imagine a cropped bob with a blunt edge: if you extend it too long without softening the perimeter, the result can look like two separate haircuts. The strategies below prevent that outcome, prioritizing healthy hair and believable movement.
Choosing the Right Hair Extensions for Short, Fine Hair: Flat-Laying Methods and Gentle Blending
Fine or thin short hair benefits from subtle volume, discreet attachment points, and a plan that puts visibility first. The goal is to create fullness without overwhelming delicate strands.
- Use a reverse application map. Start at the sides and crown instead of the nape. Traditional training often begins below the occipital bone, but on thin short hair, the most visible areas are near the face and top of the head. Installing there first ensures you blend the shortest pieces where they matter most, then finish the back.
- Pre-map quantity and placement. Outline how many pieces you’ll need and where they will sit before installing. This ensures even weight distribution, a smooth blend, and a clear service price from the start—preventing surprise overages.
- Mix methods for density zones. A hybrid approach—combining flat tape-ins or pull-thru for thin sections and a small weft or a few singles where density allows—lets you tailor the install to each area’s needs.
- Commit to soft layers. Light, face-framing and interior layers help marry short natural pieces to longer extensions, avoiding harsh steps or a “mullet” effect. A feather razor or gentle shear-glide technique can delicately dust the ends for a natural taper.
Example: You have a short, fine bob with flyaway bangs. By beginning at the crown and sides with tape-ins, then adding a few pieces behind the ear, you create enough coverage to hide short bits. Once the sides blend, you can fill in the back without adding excess bulk.
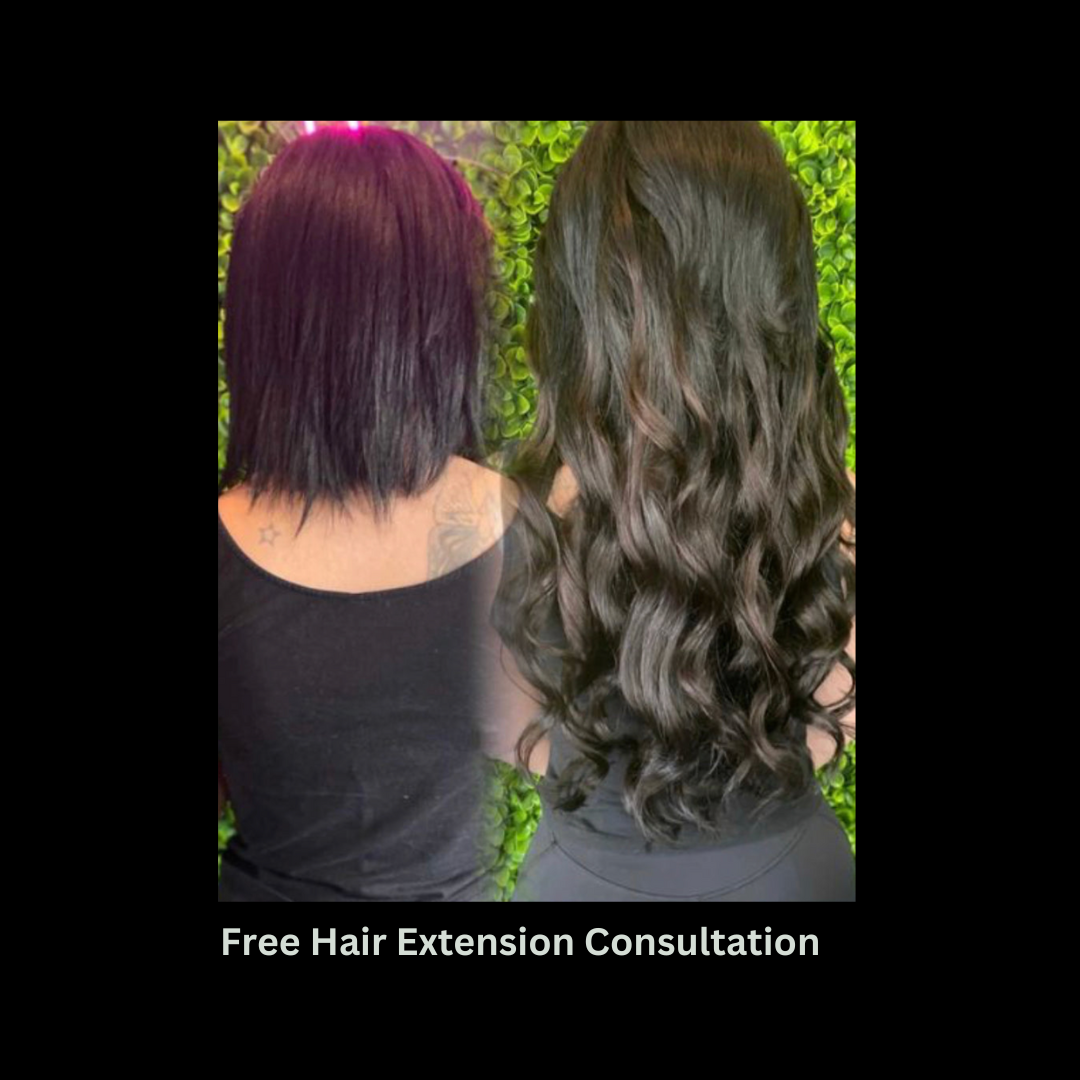
Real-world note: Yodit used tape extensions to sculpt a natural-looking bob on short hair, proving how flat-laying methods can support believable shape while preserving movement.
Reflect: Are the shortest sections near your temples or crown the areas you notice first in the mirror? If so, would beginning your installation there help you visualize and control the final blend?
Applying Hair Extensions to Short, Thick Hair: Managing Weight Lines and Strategic Volume
Short, dense hair often features a bold perimeter and a clear weight line, which can show through if length is added without shaping. Focus on diffusion, interior support, and time management.
- Reverse application still wins. Start at the crown and sides to address the most visible edges of that heavy weight line. Add more hair at the sides and top where the short layers meet the longer extensions to soften transitions.
- Budget extra time. Thick hair usually requires more pieces to achieve a balanced blend, which also means more drying and styling time. Factor this into both your appointment and daily routine.
- Texturize the top layer only. A light thinning or texturizing pass on the leave-out can create a seamless shift from natural hair to extensions without reducing overall density. Keep bulk where it supports the shape and remove only what’s needed to erase steps.
- Leverage a hybrid technique. The hybrid technique—for instance, combining hand-tied wefts with Veila Pull-Thru—can balance comfort, fullness, and scalp health, reducing tension while adding coverage where you need it most.
Example: On a thick pixie grow-out, installing pull-thru wefts along the crown and a hand-tied row near the sides can ease the heavy line, then a few targeted texturizing cuts allow the natural hair to float into the added length.
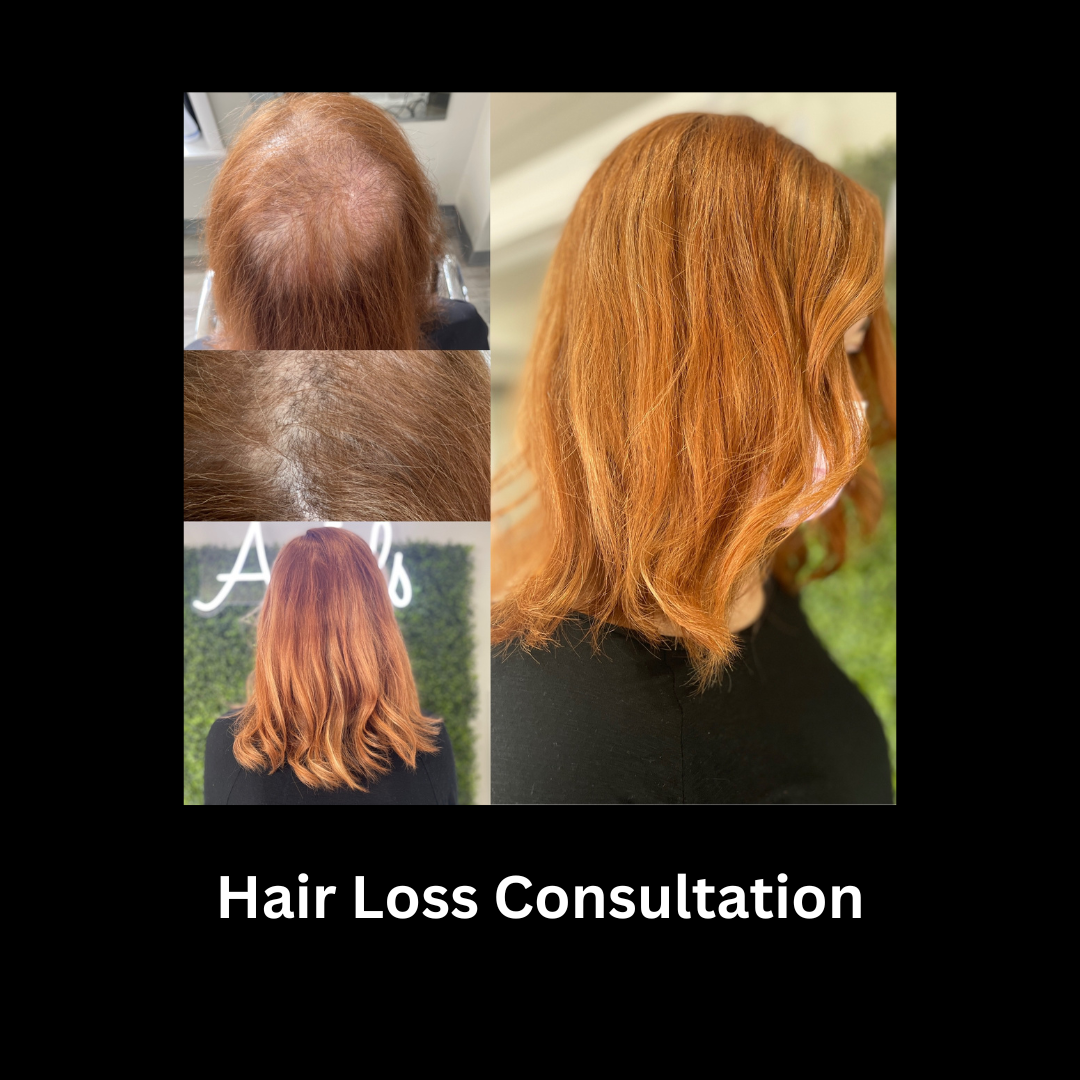
Stylist insight: Diane Fritz used Veila Pull-Thru Hair Extensions to add length to thick hair while maintaining a healthy, uncolored base—showcasing how thoughtful placement can elevate shine and condition.

Reflect: Does your cut have a defined, blunt edge that resists blending? Would a few minutes of top-layer texturizing help the extensions disappear into your natural hair?
Blending Techniques Specifically for Short Hair Extensions
- Shape with heat and movement. Curling or adding a soft bend makes attachment points less noticeable and melds textures. Alternating curl directions or adding a loose wave can break up lines and create the illusion of length that naturally belongs.
- Adjust your target length. When blends are stubborn, consider shifting from very long lengths to a mid-length finish (just above or below the bra strap). Shorter extension length often integrates more smoothly with short haircuts.
- Backcomb strategically. Gentle backcombing at the root—especially at the crown—can camouflage attachment points without creating a dated, overly teased look. A few strokes with a teasing brush is usually enough.
- Maintain healthy hair. If your long-term goal is to grow out your hair and eventually skip extensions, prioritize masks and treatments to keep strands pliable and resilient during the transition.
- Plan for the grow-out phase. Many people use extensions to navigate the “awkward growth stage.” With each appointment, blending usually becomes easier, and fewer pieces may be needed, which can eventually lower maintenance time and cost.
Example: You’ve added 16-inch extensions to a jaw-length bob and notice stubborn steps at the back. Trimming to a collarbone-grazing length, adding a wave with a curling iron, and lightly backcombing the crown minimizes the contrast and reveals a smooth silhouette.
Reflect: Would a slightly shorter extension length or a softer wave pattern make your blend look more intentional and polished?
Choosing the Right Hair Extensions for Short Hair: Methods, Hair Types, and Styling Options
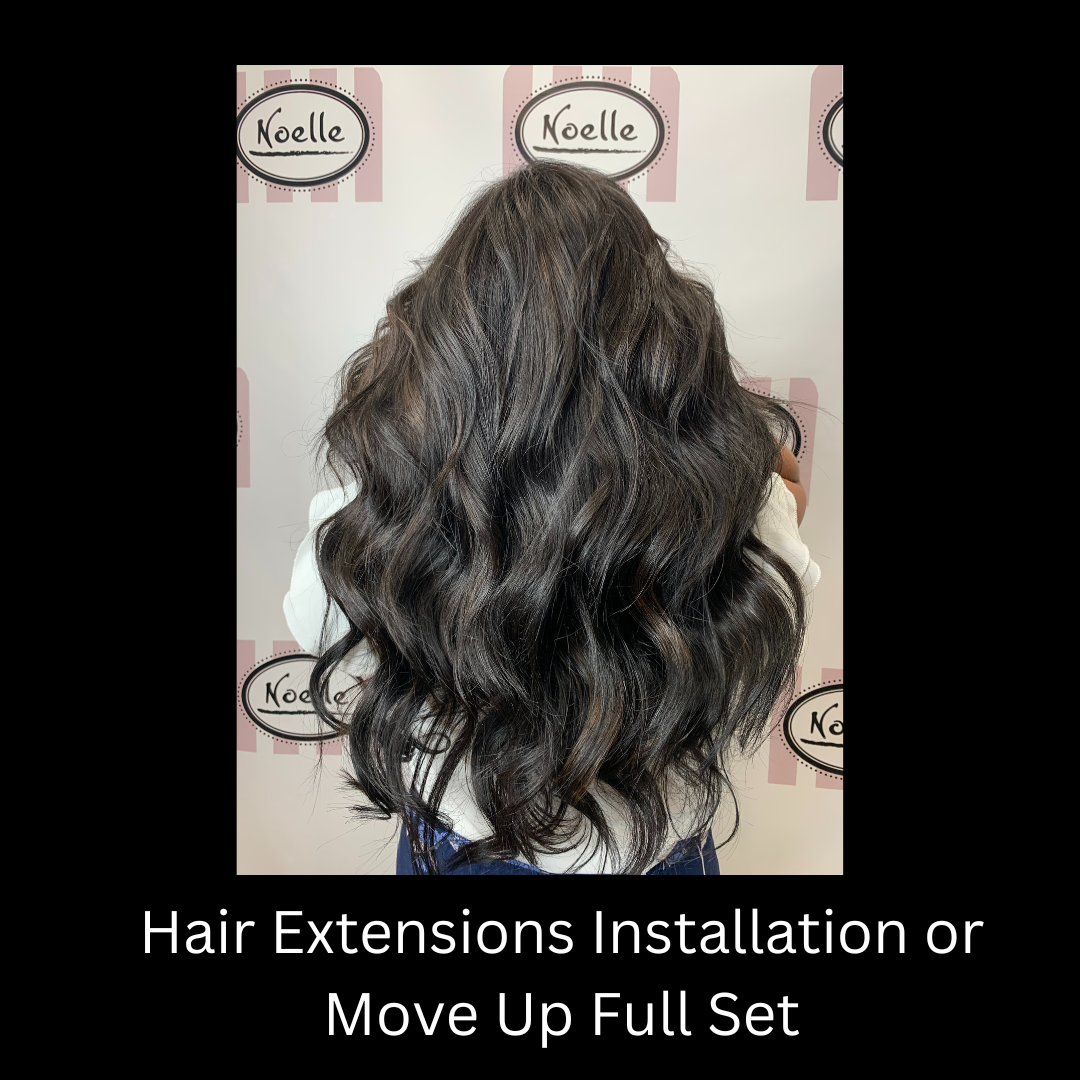
At Noelle Salon, we evaluate your natural hair, discuss your styling goals, and color-match to the desired shade. We install human hair extensions such as 100% Remy and Virgin Hair (rather than mass-produced, less customized options). Extensions can complement short hair or deliver a full head of length, and we work with various methods including tape-in extensions, clip-in extensions, keratin bonds, and our Pull-Thru Veila Hair Extensions for streamlined care. Styling ranges from flat iron sleek to natural curl. If you want a quick change for an event, a clip-in ponytail can refresh your look without commitment. With protective styling and regular maintenance, extensions can support your hair growth journey and allow for a noticeable transformation in a single day.
Choosing methods for short lengths:
- Fine hair: Consider tape-ins or pull-thru for a flat profile; use smaller sections to prevent show-through.
- Thick hair: Combine wefts with pull-thru or hand-tied rows; increase density near the crown and sides as needed.
- Active lifestyles: Opt for secure methods that distribute weight well; keep attachments away from high-friction zones.
- Occasional wearers: Clip-ins offer flexibility for special occasions with minimal upkeep.
Care and styling pointers:
- Use heat tools on moderate settings and protect the bonds by avoiding direct, prolonged heat on attachment points.
- Brush gently from ends upward with a detangling tool designed for extensions to reduce tension on roots.
- Schedule regular maintenance to reposition pieces as your natural hair grows, preserving both comfort and blend.
- Incorporate nourishing masks to maintain softness and shine, especially on leave-out sections.
Reflect: Which method aligns with your hair density and lifestyle—flat tape-ins for invisibility, or a hybrid approach for balanced fullness and comfort?
Step-by-Step Checklist: Applying Hair Extensions to Short Hair
- Assess hair density, texture, and the shortest layers that must blend into extensions.
- Define the target length and consider a mid-length finish for the most natural result.
- Create a reverse placement map that prioritizes sides and crown for visibility.
- Select methods by zone: flat-laying for thin areas, supportive wefts where density allows.
- Install in controlled sections, checking blend from multiple angles as you go.
- Add soft layers and subtle texturizing to erase steps between natural hair and extensions.
- Style with movement—light curls or bends—to conceal attachment points.
- Educate on maintenance, including brushing, washing, and heat styling near bonds.
- Plan follow-ups for adjustments as your natural hair grows and blending needs change.
Consider: If you followed this checklist today, which step would most improve your current blend—placement, layering, or finishing style?
Common Challenges and Solutions When Applying Extensions to Short Hair
- Blunt bob with minimal layers: Choose flat methods and add interior layers. Finish with a soft wave to disguise any step lines along the perimeter.
- Thick crop growing out: Use a hybrid install to break up weight at the crown. Texturize only the leave-out so the top collapses naturally into the added length.
- Fine hair with visible attachment points: Reduce piece size near the face, shift to flatter methods, and rely on a gentle backcomb at the crown for coverage.
- Ambitious length goal: If the transition looks stark, trim the extensions to a mid-length and reassess the blend before going longer in a future appointment.
Reflect: Which scenario mirrors your haircut right now, and what single adjustment could you try first to elevate the blend?
Final Tips for a Flawless Integration of Extensions in Short Hair
Short hair and hair extensions can coexist beautifully with the right plan: prioritize reverse placement for visibility, tailor methods to density, soften with layers, and style with movement. As your hair grows, blending typically becomes easier, and you may need fewer pieces over time. If your ultimate goal is healthy, independent length, keep treatments and gentle maintenance at the center of your routine, and use extensions as a supportive tool through the awkward stages.
Are you longing to lengthen your hair? Share your questions, describe your hair texture, or tell us about your extension journey in the comments—we’re here to help you map a path to your best blend.
Many people also consider subtle lifestyle shifts to support wearability; for thoughts on daily routines, explore this overview of lifestyle changes with hair extensions as you plan your look.


