Easy Lace Front Wig: A Beginner’s Perfect Fit Guide

Understanding the Basics of Front Lace Wigs

Front lace wigs are very popular because they look so natural. Unlike regular wigs, which usually have a clear starting point, front lace wigs have a thin lace base at the front. This lace matches your skin and makes it seem like the hair is growing right from your scalp.
Front lace wigs come in many styles, lengths, and textures. They give you many options for styling, ensuring durability. You can part your hair in different ways, create updos, or try out different hairstyles, just like with your natural hair. Whether you want a subtle change or a big makeover, front lace wigs offer a flexible and natural-looking choice, especially when paired with adjustable straps for a perfect fit.
The Benefits of Choosing a Front Lace Wig
One main reason why front lace wigs are popular is that they look very natural. The fine lace base blends well with your skin. This creates a hairline that looks just like your own. With this natural look, your confidence can grow. You will feel like you are wearing your real hair.
Front lace wigs also give you great styling options. The lace front lets you part your hair any way you want. Many regular wigs do not offer this. Do you want a middle part today and a side-swept look tomorrow? You can do that! Front lace wigs let you try different hairstyles, like smooth ponytails or lovely braids, while still looking very real.
Another benefit of front lace wigs is that you can fix them in place using different kinds of adhesives. You can choose what feels right for you. Do you want the strong hold of wig tape or the convenience of gel-based adhesive? You can customize how you put it on for your own comfort. This way, you can wear your wig securely and feel good about it all day long.
Types of Front Lace Wigs for Beginners
Starting your journey with a front lace wig can feel a bit intimidating because there are so many choices. But don't worry! As a beginner, you can keep things easy and embrace effortless style. Look for a ready-to-wear synthetic front lace wig. These wigs come already styled and need little fixing, which is great for someone trying them for the first time.
If you have short hair and think it might show, choose a lace front wig with a lower hairline. This will give you more coverage at the back of your neck and help the wig fit better and look natural. To properly install and secure a lace front wig for a natural look, begin by braiding or flattening your natural hair and using a wig cap to keep it in place. Apply the wig carefully, aligning the lace along your natural hairline, and use adhesive or wig tape to secure the lace. Once secured, trim any excess lace and style the front wig as desired for a seamless and realistic appearance.
When you feel more at ease, you can try human hair front lace wigs. They look very real and give you lots of styling options. Remember, practice will help you get the hang of it! With a few tries, you will be good at wearing front lace wigs. If this guide was helpful, think about making a small contribution to support wikiHow and help provide more useful resources!


Discover Different Wig Styles and Lengths
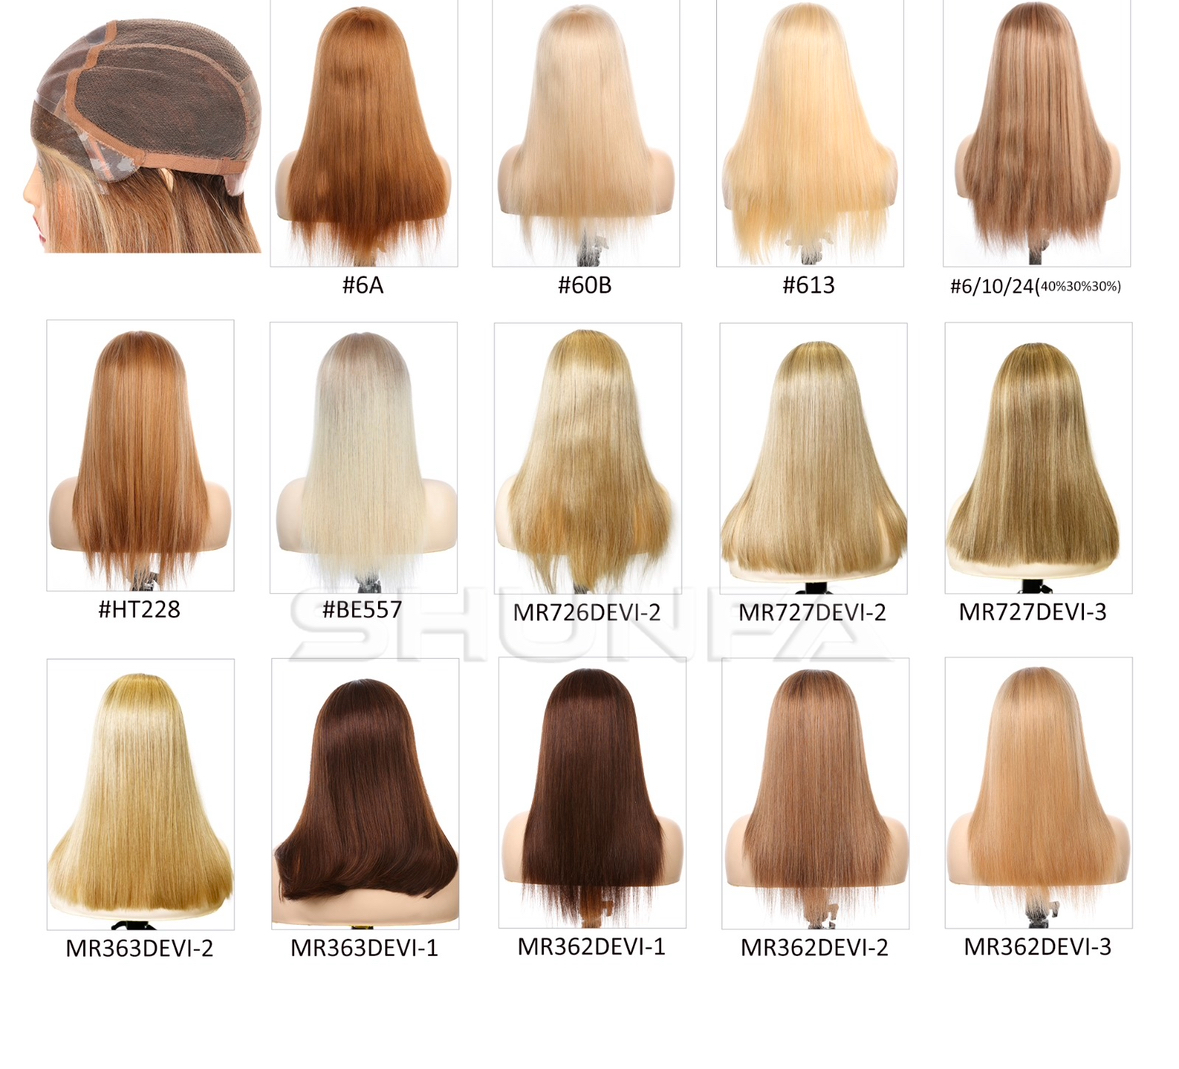
When it comes to front lace wigs, the variety of styles and lengths available is truly remarkable. From chic bob cuts to flowing long locks, you can find a wig that matches your unique personality and fashion sense. Bob wigs offer a trendy and low-maintenance option, typically falling around the chin or shoulder, making them perfect for an everyday look. On the other hand, long wigs can reach lengths of 22 inches or more, allowing for versatile styling options like curls, waves, or sleek straight looks. Additionally, you can explore short wigs that provide a playful vibe, perfect for those looking to make a bold statement without committing to long hair. Each style can be tailored to fit your personal style, ensuring you feel confident and fabulous no matter the occasion. Consider styles from premier brands like Bobbi Boss for even more variety.
Bob Wigs, Long Wigs, and Short Wigs Explained
Bob wigs are a popular choice for those seeking a stylish yet manageable look. Ranging in lengths from 10 to 14 inches, they can be worn straight or with waves, providing a chic and modern aesthetic. For those desiring a dramatic transformation, long wigs typically measure 18 inches or longer, offering an elegant appearance that can be styled in countless ways, from glamorous curls to sophisticated updos. Short wigs, usually under 10 inches, are perfect for creating a bold, edgy look that's easy to maintain. Moreover, the option to add bangs can enhance the style, adding dimension and framing the face beautifully. Whether you lean towards the classic bob, the length of long hair, or the boldness of a short cut, there's a front lace wig style that's right for you.
help you feel confident to move around without worrying about your wig shifting.
Blurring Knots for a Natural Look Using the Knot Blur Pen
Having secured the front, focus on the back of the wig. Gather any loose hair and pin it down with bobby pins. Make sure it lies flat against your head. Use a wig brush to smooth out bumps or lumps. This helps create a flat surface for the back part of the wig to stick to when it is stored in its packaging.
Check that the wig cap is fully covered for a seamless base. This creates a comfortable fit and helps avoid any discomfort after you apply the wig. Remember, this step is important for a perfect wig application.
Taking time to secure and smooth the back of the wig makes it look more natural. It also helps keep the wig in place all day long.
Exploring Affordable and Premium Wig Options
When it comes to selecting a front lace wig, understanding the difference between affordable and premium options is key. Affordable wigs typically made from synthetic hair fibers offer a budget-friendly choice for beginners. They come pre-styled and require less maintenance, making them a great option for those just starting out. On the other hand, premium wigs crafted from human hair, including our human hair wigs, provide a more natural look and feel, allowing for more versatile styling options, showcasing their versatility. They can be styled with heat tools, dye, and cut just like natural hair. While they may require a higher initial investment, the longevity and realism of premium human hair wigs are often worth it for those looking to elevate their style. Whether you choose affordable or premium, it's essential to find a wig that suits your lifestyle and aesthetic preferences.
Conclusion
In conclusion, getting a perfect wig fit is possible, even for beginners. You just need the right tools and techniques. Front lace wigs are flexible and look natural. They are also easy to put on. If you follow the step-by-step guide and use key tools like snippers, wig wax stick, knot blur pen, mousse, hair spray, blow dryer, and flat iron, you can have a flawless and secure fit. Learning the basics and benefits of front lace wigs gives you the confidence to enhance your look. Embrace the journey of finding your perfect wig fit in a stylish and easy way.
Frequently Asked Questions
What Makes a Front Lace Wig Ideal for Beginners?
Front lace wigs are perfect for beginners. The lace front helps make a hairline look natural. It is also easier to practice trimming and putting them on compared to other kinds of wigs. You do not have to find a stylist or professional to start!
Can I Install a Front Lace Wig Without Professional Help?
Absolutely! Getting help from a hairstylist is always good. However, you can put on a front lace wig at home by yourself. If you have the right tools and prepare well, you can follow each step and have a great-looking wig quickly!


