
Sew-In Hair Extensions: What to Know Before You Choose | Hair Extensions Boston
Sew-in hair extensions are often known for creating dramatic length and volume, but they aren’t the right fit for every hair type.
For clients searching for hair extensions Boston, it’s important to understand how sew-ins work, who they’re best for, and when a lighter method may be a better option—especially for fine or thinning hair.
Choosing the right extension method is less about following trends and more about protecting your natural hair while achieving a natural, balanced result.
What is Sew In Hair Extensions?

Sew in hair extensions are semi-permanent wefts sewn into braided or beaded bases to add length, fullness, and styling versatility. Unlike clip-ins or tape-ins that may slip or require frequent reapplication, sew-ins stay secure for weeks while blending seamlessly with your natural hair.
What Are the Types of Sew Ins?
There are several ways sew-ins can be installed, and each method offers unique results depending on your hair goals:
-
Full Sew In: All natural hair is braided down and completely covered with wefts. This is ideal for maximum length, volume, and protective styling.
-
Partial Sew In: A portion of natural hair is left out to blend with the extensions, giving a softer, more natural look.
-
Sew In with Closure: A lace closure is added at the crown, providing a seamless scalp-like finish without leaving natural hair out.
-
Sew In with Frontal: A lace frontal covers the entire front hairline, creating versatile styling options like middle parts, side parts, or ponytails.
-
Sew in Bead Hair Extensions (Braidless): Instead of braids, beads act as anchors, making this method lightweight, flat, and reusable.
How Do Sew-In Extensions Differ from Other Methods?
Sew-in weft hair extensions are unique because they are sewn into braids or beads without glue or heat. Unlike tape-in or fusion methods that use adhesives or keratin bonds, sew-ins provide a secure, semi-permanent solution that protects natural hair while adding thickness and volume.
To make the differences easier to understand, here’s a quick comparison of popular extension types:
|
Extension Type |
Typical Longevity |
Application Method |
Best For |
|---|---|---|---|
|
Sew-In (Weave) |
6–8 weeks per installation |
Professional Only |
Thicker hair, adding volume |
|
Tape-In |
6–8 weeks per application |
Professional Preferred |
Seamless results, semi-permanent |
|
Fusion (K-Tip) |
3–6 months |
Professional Only |
Long-term wear, natural movement |
|
Halo |
6–12 months (reusable) |
Do-it-yourself |
Temporary changes, special events |
How to Sew In Hair Extensions Step by Step?

Learning how to sew in hair extensions involves consultation, preparation, braiding, sewing, blending, and proper maintenance. While many beginners search for DIY tutorials, professional installation at a salon like Noelle Salon ensures a safe, natural, and long-lasting finish without risking damage
Step 1: Consultation and Hair Assessment
Before installation begins, a stylist evaluates your natural hair and scalp health:
-
Check for thinning, breakage, or scalp sensitivity.
-
Decide if a full sew in, partial sew in, or sew in bead hair extensions are most suitable.
-
Discuss lifestyle needs and low-maintenance daily looks vs. high-style flexibility.
-
Choose whether closures or frontals will be used for parting and blending.
This step ensures the sew-in is customized for your hair type, whether you have long, fine strands or are considering sew in hair extensions on short hair.
Step 2: Choosing and Matching Extensions
The next step is selecting the right wefts to blend seamlessly with your natural hair:
-
Match extension texture and curl pattern to natural hair.
-
Choose the correct color (or multiple shades) for blending.
-
Decide between synthetic, human, or virgin hair based on budget and styling goals.
A perfect match guarantees the sew-in looks natural in both length and volume.
Step 3: Preparing Natural Hair
Healthy hair prep is critical to prevent damage under the sew-in:
-
Wash with clarifying shampoo to remove oils and buildup.
-
Deep condition to restore moisture and strength.
-
Blow-dry or stretch hair for easier braiding.
-
Detangle completely to avoid knots during braiding.
Prepping keeps your natural hair protected during the weeks you’ll wear extensions.
Step 4: Creating the Braid Pattern
The braid base determines how natural the sew-in will appear and how versatile it will be for styling:
-
Straight-back braids are ideal for simple styles.
-
Beehive braids allow middle and side parts with closures.
-
Custom braids can be designed based on the style requested.
-
Braids must be firm but not tight, preventing scalp tension.
For sew in hair extensions on short hair, stylists use smaller, tighter braids to anchor the wefts securely.
Step 5: Measuring and Cutting Wefts
Before sewing, extensions are measured to ensure a smooth, flat fit:
-
Lay the weft across the braid row to measure length.
-
Trim carefully so no excess hangs out.
-
Keep cut edges sealed to prevent shedding.
This step keeps the sew-in lightweight, even, and natural-looking.
Step 6: Sewing the Wefts
This is the core of the process, attaching extensions securely with a needle and thread:
-
A curved needle and strong thread are used for precision.
-
The blanket stitch is often preferred for durability.
-
Wefts are layered row by row to build fullness.
-
In sew in bead hair extensions, beads anchor the wefts instead of braids, creating a flatter base.
Proper stitching ensures the sew-in won’t loosen, slip, or create bumps.
Step 7: Blending and Styling
Once sewn in, the hair is shaped and styled to match your look:
-
Leave-out hair (if any) is blended with extensions.
-
Layers are cut for movement and realism.
-
Heat styling, curls, or waves can be added for finishing.
Blending is what makes sew-ins nearly indistinguishable from natural hair.
Step 8: Aftercare and Maintenance
A sew-in lasts only as long as it’s maintained properly:
-
Wash every 1–2 weeks with sulfate-free shampoo.
-
Keep scalp moisturized without overloading with heavy oils.
-
Sleep with a silk or satin scarf or pillowcase.
-
Visit the salon every 4 weeks for tightening or adjustments.
With good aftercare, sew-ins can last 6–8 weeks without compromising your natural hair health.
Step 9: Safe Removal
When the sew-in has run its course, professional removal is essential:
-
A stylist carefully snips the thread without cutting natural hair.
-
Braids are gently taken down and detangled.
-
Scalp and hair are washed and deep conditioned.
Safe removal prevents breakage and keeps your natural hair healthy for the next installation.
At Noelle Salon, every step is carried out with precision and care. From selecting the right hair to sewing with professional stitching techniques, the team ensures each sew-in is comfortable, long-lasting, and styled to perfection, whether you’re a beginner or someone experienced with extensions.
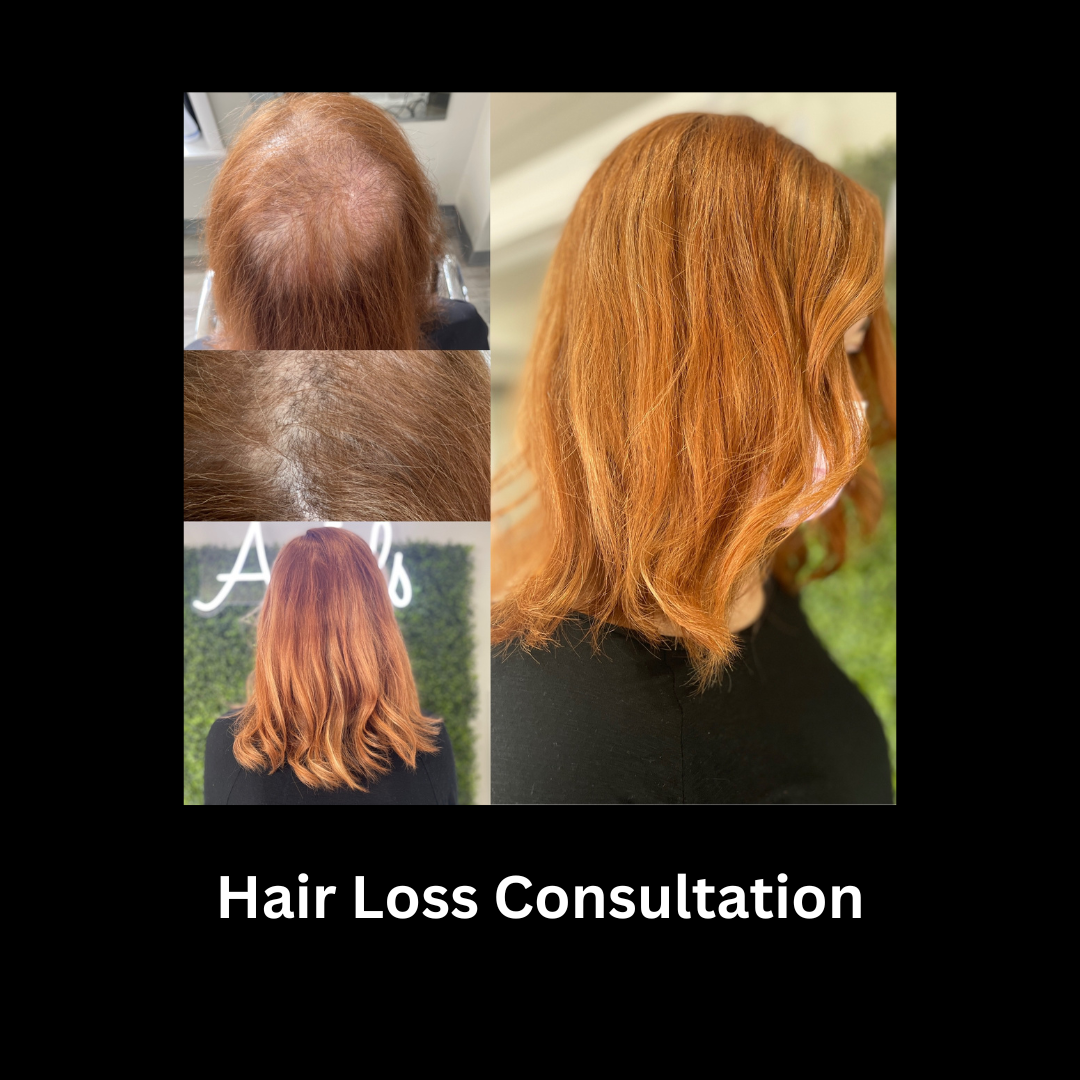
While sew-in extensions can be effective for adding volume, they are typically better suited for thicker hair types. For fine or thinning hair, lighter methods such as tape-ins or keratin bonds often provide a more natural and comfortable result.
Salon vs. DIY Application: What Are the Pros and Cons?

When it comes to how to sew in hair extensions, you can either attempt a DIY method at home or book a professional installation at a salon. While DIY may seem appealing to beginners, salon applications provide better safety, comfort, and long-lasting results.
To help you compare, here’s a clear breakdown of salon vs. DIY sew-ins:
|
Aspect |
Salon Application |
DIY Application |
|---|---|---|
|
Skill Level |
Done by trained stylists with years of experience |
Requires learning, often difficult for beginners |
|
Safety |
Braids, beads, and sewing techniques ensure scalp health |
Risk of tight braids, uneven wefts, or hair breakage |
|
Appearance |
Seamless blending, natural finish |
May look bulky or uneven if done incorrectly |
|
Time |
2–4 hours for a full install |
Longer for beginners, with trial and error |
|
Durability |
Lasts 6–8 weeks with proper care |
May loosen quickly or slip out |
|
Customization |
Extensions matched to color, texture, and style needs |
Limited by skill and available tools |
|
Cost |
Higher upfront but cost-effective over time |
Lower upfront but may require frequent re-dos |
While DIY can be tempting, especially for those searching how to sew in hair extensions for beginners, the risks often outweigh the savings. A salon application guarantees safety, comfort, and a natural finish that lasts.
What Sew In Hair Extensions Hairstyles Can You Try?

Sew in hair extensions hairstyles offer unmatched versatility, letting you experiment with straight, wavy, or curly textures, as well as updos and layered cuts. To give you a sense of the possibilities, here are some of the most popular sew in hair extensions hairstyles:
-
Sleek Straight Hair: A polished, professional look perfect for daily wear.
-
Loose Beach Waves: Effortless and casual, ideal for weekends and events.
-
Defined Curls: Adds body and movement for a bold, glamorous effect.
-
High Ponytail or Bun: Versatile styles that keep hair off the face while still looking chic.
-
Layered Styles with Bangs: Great for clients who want a fresh, youthful appearance.
-
Protective Styles: With closures or frontals, sew-ins can mimic natural parts and protect your own hair underneath.
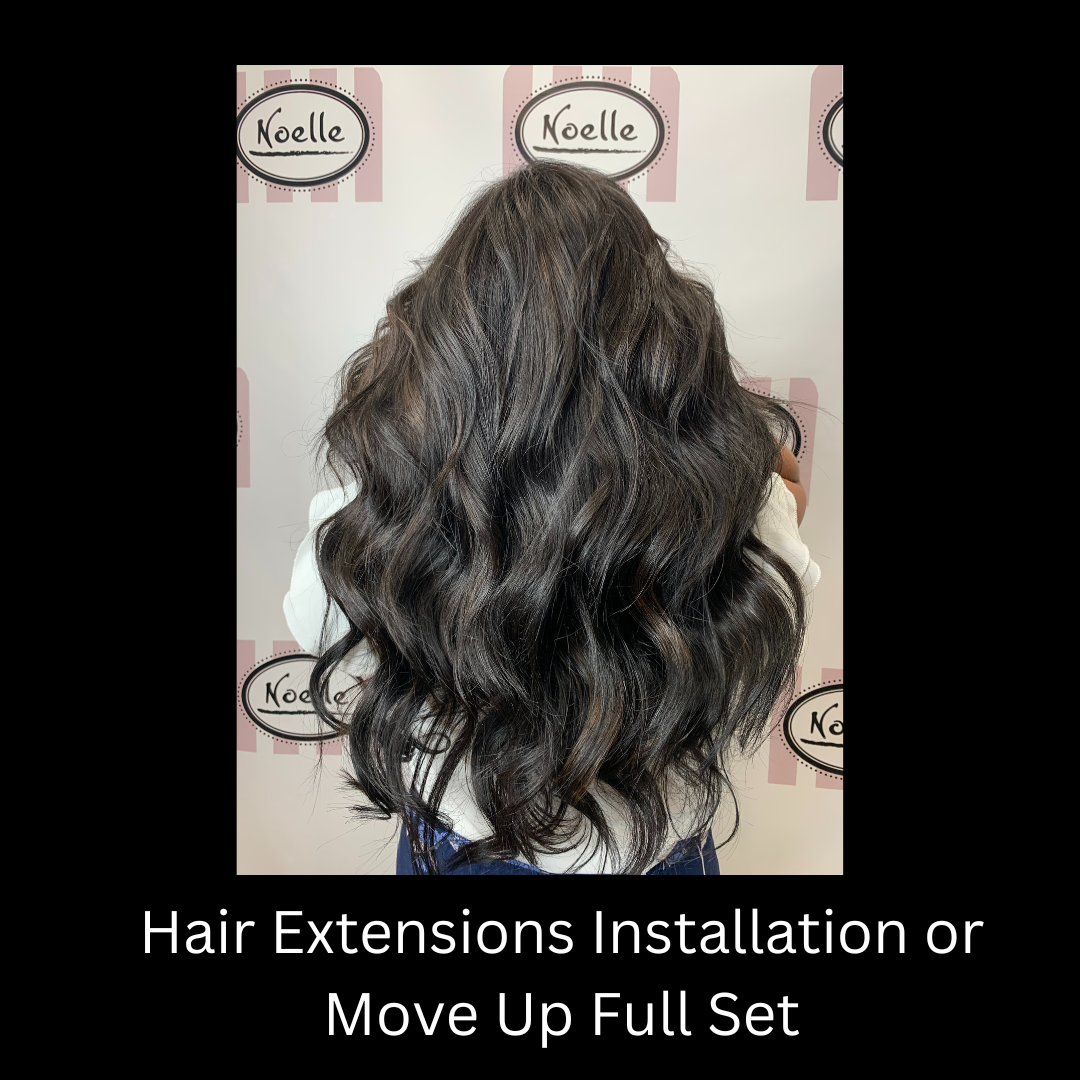
At Noelle Salon, stylists personalize every sew in hair extensions hairstyle to complement your hair type, lifestyle, and face shape. The result is stunning sew in hair extensions before and after transformations that look completely natural.
How Much Are Sew In Hair Extensions?
How much are sew in hair extensions depends on factors like hair type, method, length, and stylist expertise. On average, sew-ins cost between $200 and $800. Premium human hair and advanced methods such as sew in bead hair extensions are on the higher end, while partial sew-ins are generally more affordable.
To make the comparison easier, here’s a breakdown of common sew-in methods and their price ranges, including hair weft options:
|
Sew-In Method |
Price Range (USD) |
Lifespan |
Notes |
|---|---|---|---|
|
Full Sew In |
$250 – $600 |
6–8 weeks |
Provides maximum length and volume |
|
Partial Sew In |
$200 – $400 |
4–6 weeks |
Leaves some natural hair out for blending |
|
Sew In with Closure |
$300 – $700 |
6–8 weeks |
Creates a natural-looking scalp and part |
|
Sew In with Frontal |
$350 – $750 |
6–8 weeks |
Covers full hairline, allows versatile parting |
|
Sew In Bead Hair Extensions |
$400 – $800 |
6–8 weeks |
Braidless method, flatter and reusable |
While the upfront cost may seem high, many clients find sew-ins cost-effective in the long run because high-quality wefts can be reused for multiple installs.
At Noelle Salon, pricing is customized based on your desired style, hair type, and method. Contact us today and get a personalized quote for your perfect sew-in.
How Long Do Sew In Hair Extensions Last?
How long do sew in hair extensions last depends on your natural hair, installation method, and aftercare. On average, they last 6–8 weeks before needing removal or reinstallation. Extending wear beyond this can cause tangling, scalp stress, or breakage, so timely maintenance is essential for healthy results.
To understand what influences the lifespan of your sew-in, here are the main factors to consider:
-
Hair Quality: Virgin or premium human hair lasts longer and can be reused for multiple installs.
-
Installation Method: Secure braiding or sew in bead hair extensions generally last 6–8 weeks with proper care.
-
Maintenance Routine: Washing, moisturizing, and protecting hair at night extends the sew-in’s life.
-
Scalp Health: A healthy scalp prevents irritation and allows extensions to stay in longer.
-
Styling Habits: Minimal heat styling and gentle handling help maintain both wefts and natural hair.
Conclusion: Are Sew-In Extensions Right for Your Hair?
Sew-in hair extensions can be a great option for adding volume and length, but they are not the best fit for every hair type.
Because sew-ins rely on braids or anchor points, they are generally better suited for thicker hair that can support the structure comfortably.
If you’re considering hair extensions Boston, choosing the right method based on your hair density, lifestyle, and long-term goals is essential for achieving a natural look without causing damage.
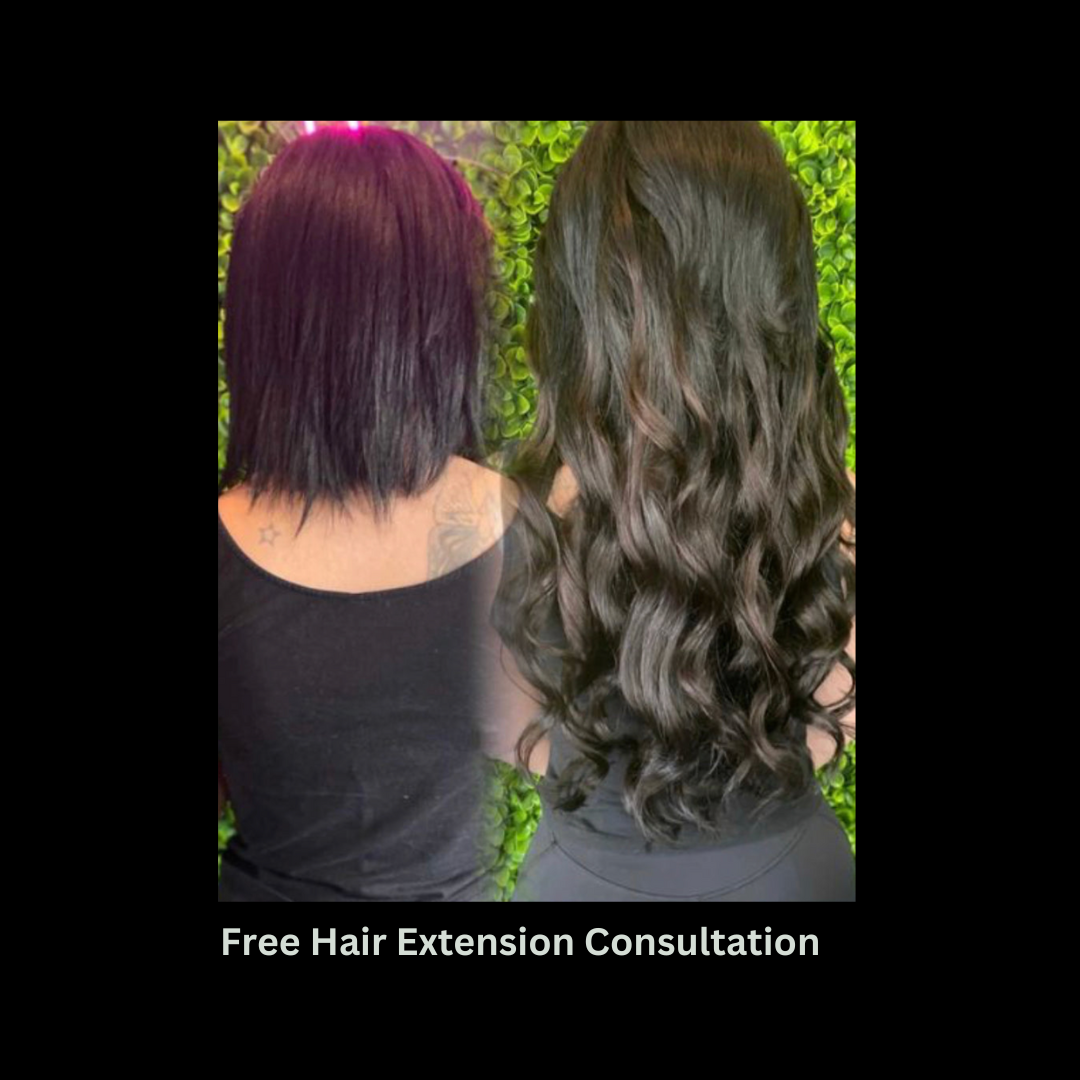
👉 Book a free hair extensions consultation to determine whether sew-in extensions or a lighter method is the best option for your hair.


